Whether you’re a first-time gardener or a seasoned green thumb looking to level up your backyard, raised bed gardening is one of the most rewarding ways to grow vegetables, herbs, and flowers. In this complete guide, we’ll walk you through everything — from choosing the right materials and building your first bed to filling it with the perfect soil mix and growing a spectacular harvest.
What Is Raised Bed Gardening?

Raised bed gardening is exactly what it sounds like — growing plants in a contained garden bed that sits above the natural ground level. Instead of digging directly into your yard’s existing soil, you build a frame (usually from wood, metal, or stone), fill it with a custom soil blend, and plant directly into that rich, controlled growing environment.
The concept has been around for centuries — ancient civilizations from Egypt to China used elevated planting methods to control their growing conditions. Today, raised bed gardening has become one of the most popular backyard gardening techniques in the United States, and for very good reason.
Unlike traditional in-ground gardening, raised beds give you complete control over your soil quality, drainage, and growing conditions. You’re essentially building the perfect garden from scratch, rather than trying to work with whatever the ground beneath your feet happens to offer.
Raised beds come in all shapes and sizes — from simple rectangular frames built with 2×10 lumber to elegant galvanized steel troughs to elaborate tiered garden systems. They can sit on grass, concrete, gravel, or bare earth. They can be temporary or permanent. They can be small enough for a balcony or large enough to feed a family of four.
The bottom line? If you want more control, better harvests, fewer weeds, and a more enjoyable gardening experience, raised bed gardening is one of the best investments you can make in your backyard.
Why Raised Beds Are Worth It: The Benefits
Before we get into the how-to, let’s talk about why so many gardeners — from beginners to experts — swear by raised beds. The advantages are significant and stack up fast.
Better Soil Quality
This is the single biggest benefit of raised bed gardening. When you garden in the ground, you’re working with whatever soil nature gave you — which might be heavy clay, sandy loam, rocky subsoil, or compacted hardpan. In a raised bed, you fill the frame with exactly the soil blend your plants need. Rich, loose, well-draining growing mix that roots love to grow through.
Improved Drainage
Raised beds drain beautifully. Because the soil isn’t compacted and sits above ground level, excess water moves through freely. This is particularly valuable during heavy rain periods when in-ground gardens can become waterlogged and suffocate plant roots.
Fewer Weeds
One of the most frustrating parts of gardening is the constant battle against weeds. Raised beds dramatically reduce this problem. When you fill your bed with a fresh soil mix, you’re not introducing the weed seeds that are lurking in your native soil. Add a layer of landscape fabric underneath and you’ve created a nearly weed-free growing environment.
Easier on Your Back and Knees
Traditional gardening means a lot of bending, kneeling, and crouching. Raise your beds to 24 or 30 inches high and you can garden comfortably while standing or sitting on the edge of the frame. This is a game-changer for gardeners with back problems, mobility limitations, or anyone who just wants gardening to be more comfortable.
Warmer Soil, Earlier Harvests
Raised bed soil warms up faster in spring than ground-level soil. This means you can start planting earlier in the season — sometimes by several weeks — and enjoy harvests sooner. In cooler climates this can be the difference between a successful crop and a failed one.
Better Pest Management
Keeping slugs, snails, and crawling insects out of a raised bed is much easier than protecting a ground-level garden. A simple copper tape border around the frame deters slugs. Raised beds also make it easier to install row covers, netting, and other protective barriers.
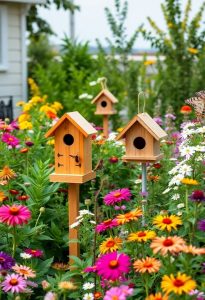
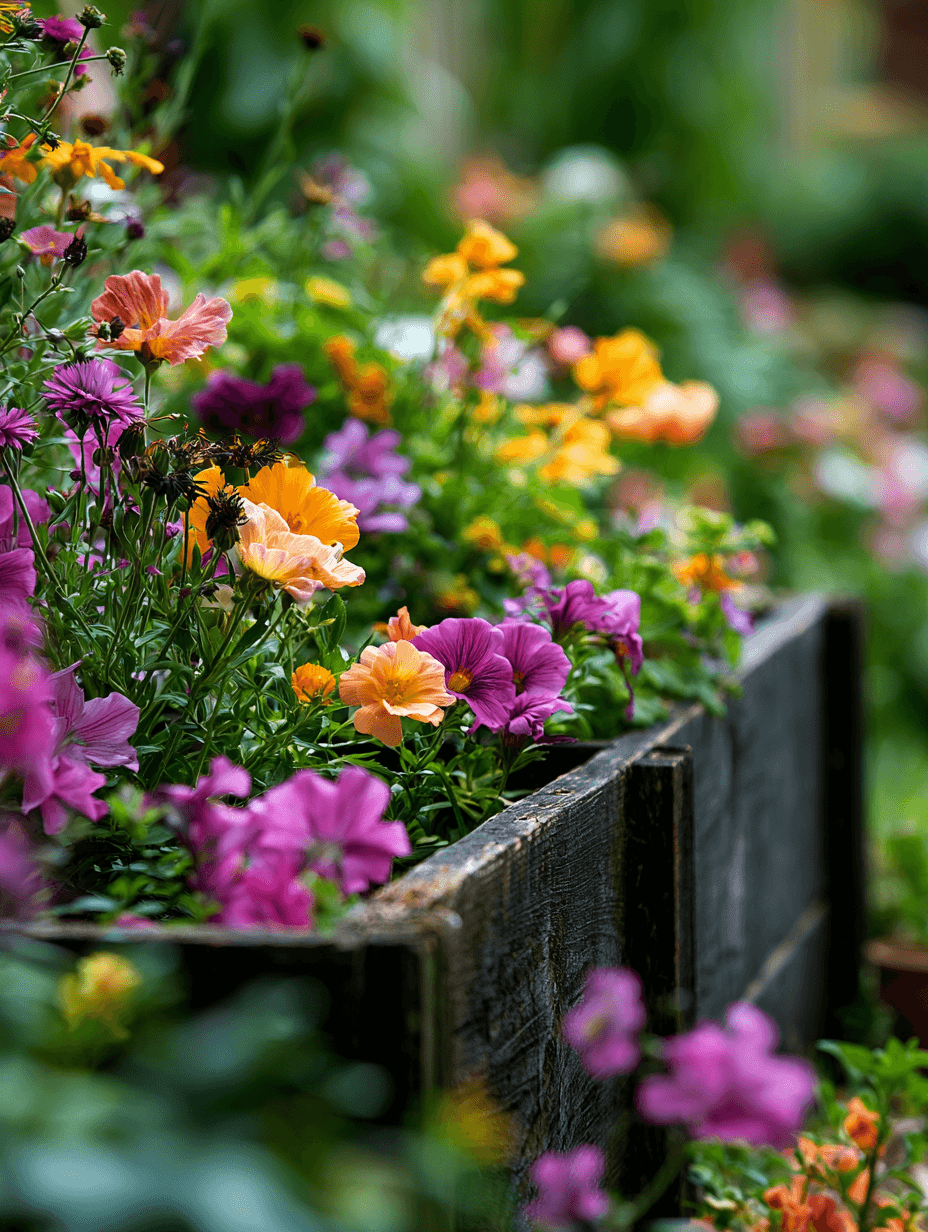
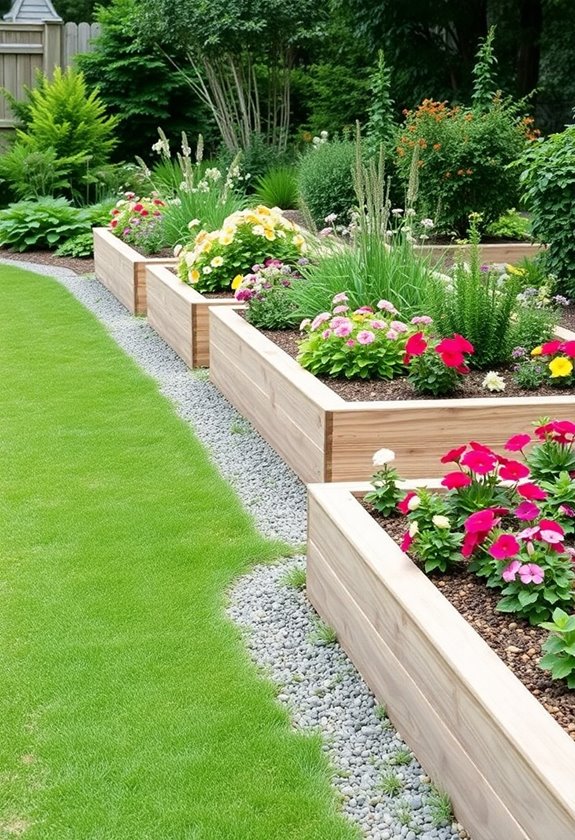
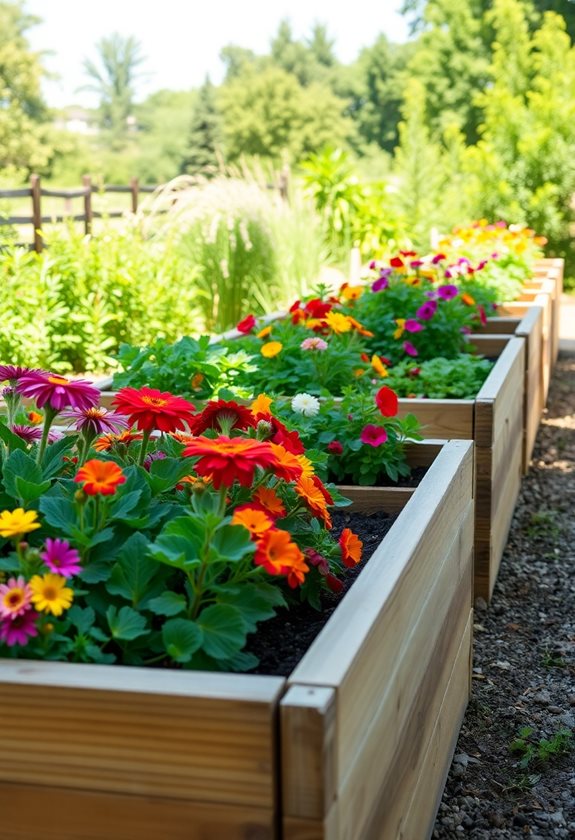
More Attractive Garden Design
Let’s be honest — a well-built raised bed looks beautiful. Clean lines, defined edges, and lush plants growing in an organized space transforms a backyard from ordinary to extraordinary. Raised beds let you design your garden intentionally, creating something that’s as visually appealing as it is productive.
Higher Yields in Less Space
Because you control the soil quality and can plant more densely than traditional row gardening allows, raised beds produce impressive yields from a compact footprint. A well-managed 4×8 raised bed can supply a family with significant quantities of fresh vegetables throughout the growing season.
Pro Tip: Studies show that raised bed gardens can produce up to four times more food per square foot than traditional row gardening when properly managed. The key is dense planting, rich soil, and consistent watering.
Choosing the Right Location for Your Raised Bed

Location is everything in gardening, and raised beds are no exception. Get the placement right and you’re setting yourself up for success before you’ve planted a single seed.
Sunlight Requirements
Most vegetables and herbs need a minimum of six hours of direct sunlight per day, and eight hours is even better. Before you choose a location, spend a day observing your yard. Notice which areas get full sun in the morning, which are shaded by trees or structures in the afternoon, and which spots stay sunny all day long.
The sunniest spot in your yard is almost always the best location for a vegetable raised bed. Leafy greens and herbs can tolerate a bit more shade, but fruiting vegetables like tomatoes, peppers, squash, and cucumbers are sun-hungry plants that will struggle without adequate light.
Access to Water
Your raised bed will need regular watering, especially during hot summer months. Choose a location that’s convenient to a water source — close to a hose bib or within easy reach of a drip irrigation system. Having to carry watering cans long distances across your yard is a chore that gets old fast.
Level Ground
A flat surface makes construction easier and ensures your bed drains evenly. If your yard slopes, you may need to level the ground slightly before building, or consider building a terraced raised bed system that steps down the slope.
Proximity to Trees
Avoid placing raised beds directly under or near large trees. Tree roots are aggressive and will invade the bottom of your raised bed over time, competing with your plants for water and nutrients. Overhanging tree branches also cast shade and drop leaves and debris into your garden. A good rule of thumb is to stay at least 10 feet away from large trees.
Wind Protection
Strong winds can damage plants, dry out soil quickly, and make gardening uncomfortable. If your yard is particularly windy, consider placing raised beds near a fence or structure that provides some shelter — but make sure that shelter isn’t blocking your sunlight.
Convenience and Visibility
The most productive gardens are the ones that get tended regularly. Place your raised beds somewhere you’ll see them every day — near the back door, visible from the kitchen window, or along a path you walk frequently. When your garden is out of sight, it’s easy to forget about watering, harvesting, and pest checks.
Raised Bed Materials: What to Build With
The material you choose for your raised bed affects its appearance, durability, cost, and safety. Here’s a thorough breakdown of your options.
Cedar Wood
Cedar is widely considered the gold standard for wooden raised beds. It’s naturally rot-resistant, contains oils that repel insects, and has an attractive warm appearance that looks beautiful in any garden setting. A well-built cedar raised bed can last 10-20 years without treatment.
The downside is cost — cedar is significantly more expensive than other lumber options. If you’re building multiple beds, the investment adds up quickly. Look for rough-sawn cedar at lumber yards, which is often less expensive than the finished cedar boards at home improvement stores.
Douglas Fir and Pine
These are the most affordable lumber options for raised beds. Untreated fir or pine will last approximately 3-7 years before beginning to rot, depending on your climate and how wet the beds stay. Many gardeners start with less expensive pine beds to get started quickly, then upgrade to cedar or metal as the pine beds wear out.
Never use pressure-treated lumber in vegetable gardens. Older pressure-treated wood contained arsenic and chromium, which are toxic. While modern pressure-treated lumber uses copper-based preservatives that are considered safer, many gardeners prefer to avoid it entirely in food-growing areas out of an abundance of caution.
Galvanized Steel
Galvanized metal raised beds have exploded in popularity over the last several years, and it’s easy to see why. They’re extremely durable (lasting 20+ years), resistant to rot and pests, have a sleek modern appearance, and are relatively affordable. They also heat up quickly in spring, warming the soil faster than wooden beds.
The main concern some gardeners have about galvanized steel is zinc leaching into the soil. Research suggests this is minimal and not a significant health concern — zinc is actually an essential plant micronutrient — but if you’re concerned, lining the interior of the bed with landscape fabric provides an extra barrier.
Composite Lumber
Composite materials made from recycled plastic and wood fiber offer the look of wood with much greater durability and no risk of rot. They’re an excellent choice for raised beds and will outlast wood significantly. The upside is longevity; the downside is higher cost and the fact that they can look slightly artificial compared to real wood or metal.
Concrete Blocks and Stone
Stacked concrete blocks, natural stone, or brick create beautiful, permanent raised beds with excellent thermal mass — they absorb heat during the day and release it slowly at night, which can extend your growing season. The downside is the labor involved in construction and the permanent nature of the installation.
What to Avoid
- Railroad ties and creosote-treated wood — contain toxic chemicals that leach into soil
- Old painted lumber — may contain lead paint
- Recycled tires — can leach harmful compounds, especially in hot climates
Pro Tip: If you’re just getting started and aren’t sure you’ll love raised bed gardening, begin with an inexpensive pine bed. It gives you a low-risk way to test the concept before investing in more durable materials.
Raised Bed Sizes and Dimensions: What Works Best
Getting the dimensions right makes the difference between a raised bed that’s a joy to work in and one that’s awkward and frustrating.
Width: The Most Important Dimension
The width of your raised bed should never exceed four feet. Here’s why: you need to be able to reach the center of the bed comfortably from either side without stepping into it. Stepping into your raised bed compacts the soil, which defeats one of the key benefits of the system.
Four feet wide allows an average adult to reach the center from either side with ease. If your bed will be accessible from only one side (placed against a fence or wall), keep the width to two feet maximum.
Length: As Long as You Want
The length of your raised bed is largely a matter of personal preference and available space. Common lengths are 4, 6, 8, and 12 feet. Longer beds require support stakes or bracing in the middle to prevent the sides from bowing outward under soil pressure, especially with wooden frames. An 8-foot bed is a great starting point — long enough to grow a meaningful variety of plants, but manageable to build and maintain.
Height: Think About Your Needs
This is where many beginners underestimate their options:
- 6 inches — the minimum useful depth, suitable for shallow-rooted plants like lettuce, herbs, and radishes
- 12 inches — the sweet spot for most vegetables, providing enough depth for the majority of root systems
- 18-24 inches — ideal for deep-rooted vegetables like tomatoes, carrots, and parsnips; also much easier on your back
- 30-36 inches — true accessible height that eliminates almost all bending; excellent for gardeners with mobility concerns
If you’re building your first bed, 12 inches is a practical and affordable starting point. If back pain is a concern, invest in the taller build from the start — you won’t regret it.
Spacing Between Beds
If you’re building multiple raised beds, leave at least 18-24 inches between them for comfortable walking and working access. 24-30 inches is even better if you want to bring a wheelbarrow through. Plan your layout on paper before you build — it’s much easier to adjust spacing in a drawing than after the lumber is cut.
How to Build a Simple Raised Bed Step by Step

Building a basic 4×8 raised bed is a straightforward project that most people can complete in an afternoon with basic tools. Here’s exactly how to do it.
What You’ll Need
- Four 2×10 or 2×12 boards (two cut to 8 feet, two cut to 4 feet, or buy pre-cut)
- Four 4×4 corner posts cut to the height of your boards plus a few inches for driving into the ground, OR corner brackets
- Exterior screws (3-inch galvanized deck screws)
- Drill/driver
- Landscape fabric (optional but recommended)
- Level
- Tape measure
Step 1: Choose and Prepare Your Location
Clear the area of grass, weeds, and debris. If placing the bed on lawn, you can smother the grass by laying several layers of cardboard directly on the ground before placing the frame. The cardboard will decompose over time while blocking grass and weeds from growing up into your bed.
Step 2: Build the Frame
Lay out your boards in a rectangle. Attach the short end boards to the inside of the long side boards using three screws per corner. If using corner posts, attach the boards to the posts with screws, leaving 2-3 inches of post extending below the frame to anchor into the ground.
Check that the frame is square by measuring diagonally from corner to corner — if both diagonal measurements are equal, the frame is square.
Step 3: Position the Frame
Set the frame in your chosen location. Use a level to make sure the top edges are even. If the ground isn’t perfectly level, you may need to dig down slightly on the high side. Drive any corner posts into the ground to anchor the frame.
Step 4: Add Landscape Fabric (Optional)
Lay landscape fabric across the bottom of the frame and up the sides slightly, cutting it to fit. This helps prevent weeds from growing up through the bottom while still allowing drainage. Secure it with staples.
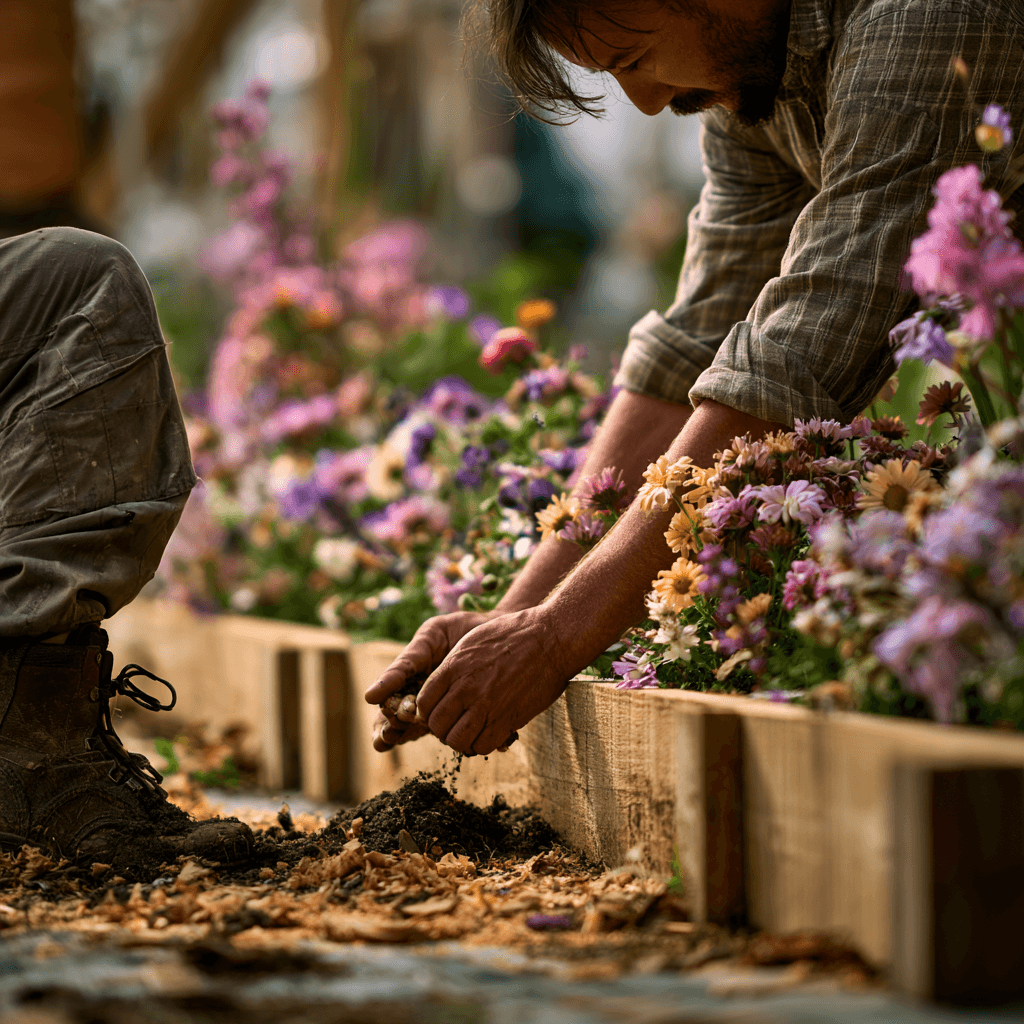
Step 5: Fill With Soil
This is the most exciting step! Fill the bed with your chosen soil mix (see the next section for the perfect recipe). Fill to about an inch below the top edge of the frame to allow for watering without soil washing out.
Step 6: Plant!
Your raised bed is ready to go. Water thoroughly before planting, then get those seeds and transplants in the ground.
Pro Tip: Add a simple drip irrigation system or soaker hose before filling with soil. Running it along the bottom before adding the soil mix means you won’t have to dig it in later.
The Perfect Raised Bed Soil Mix
The soil you put in your raised bed is the single most important factor in how well your garden performs. This is where the magic happens — and it’s worth getting right.
The Classic Mel’s Mix
The most widely recommended raised bed soil formula comes from Mel Bartholomew’s Square Foot Gardening method and has stood the test of time:
- 1/3 blended compost (ideally from multiple sources)
- 1/3 peat moss or coco coir
- 1/3 coarse vermiculite
This mix is light, fluffy, drains beautifully, retains moisture well, and provides excellent nutrition for plants. It doesn’t compact over time the way native soil does, which means roots can penetrate deeply and easily.
A Simpler Budget-Friendly Mix
If Mel’s Mix sounds expensive, here’s a more affordable alternative that works very well:
- 60% quality topsoil (avoid cheap topsoil that’s mostly clay or sand)
- 30% compost (homemade or bagged)
- 10% perlite or coarse sand for drainage
Building Soil Quality Over Time
One of the beautiful things about raised bed gardening is that your soil gets better every year. Each fall, add 2-3 inches of fresh compost to the top of your beds. Over winter, worms and microorganisms work it down into the existing soil. By spring, you have richer, more alive growing medium than the year before.
What Not to Use
- 100% topsoil — compacts heavily, drains poorly, and is usually low in nutrients
- 100% compost — can actually be too rich and cause problems with certain plants
- Native garden soil — brings weed seeds, pests, and compaction problems into your raised bed
Pro Tip: When calculating how much soil you need, use this formula: Length x Width x Height (in feet) = cubic feet needed. For a 4x8x1 foot bed, you need 32 cubic feet of soil mix. Most bags of soil are 1-2 cubic feet. Buying in bulk from a landscape supply company is much more economical for larger beds. Organic gardening tips for beginners
What to Grow in Raised Beds
The short answer is: almost anything! But some plants are particularly well-suited to raised bed growing, and understanding which ones thrive will help you plan a spectacular garden.
Vegetables That Love Raised Beds
Tomatoes are perhaps the ultimate raised bed crop. They love the deep, rich soil, the excellent drainage, and the warm temperatures. Give them a deep bed (at least 12 inches, preferably 18) and they’ll reward you with an abundance of fruit. Complete guide to growing tomatoes
Salad greens — lettuce, spinach, arugula, and mixed greens — are perfect for raised beds. They have shallow roots, grow quickly, and can be harvested continuously through the season. Plant them in early spring and again in late summer for a fall crop.
Root vegetables like carrots, beets, and radishes absolutely thrive in the deep, loose soil of a raised bed. These plants struggle in compacted native soil but grow straight and true in the fluffy texture of a well-built raised bed.
Cucumbers and squash are enthusiastic growers that benefit from the warm soil and good drainage of raised beds. Give them a trellis to climb and they’ll use vertical space efficiently.
Peppers love warm soil and sunny spots — exactly what a well-positioned raised bed provides. Both sweet and hot varieties perform beautifully.
Herbs of all kinds are excellent raised bed companions. Basil, parsley, cilantro, chives, and thyme all thrive in the well-drained soil of a raised bed. Be careful with mint — it spreads aggressively and is best given its own container.
Companion Planting in Raised Beds
One of the great strategies for raised bed gardening is companion planting — growing mutually beneficial plants together. Some classic combinations:
- Tomatoes + Basil — basil is said to repel certain tomato pests and improve flavor
- The Three Sisters — corn, beans, and squash grown together in a time-honored Native American technique; the corn provides a trellis for beans, beans fix nitrogen, and squash shades the ground to retain moisture
- Carrots + Onions — carrot fly and onion fly are said to repel each other’s pests
- Marigolds + Almost Everything — marigolds are the companion planting MVP, repelling nematodes, aphids, and other garden pests from neighboring plants
Pro Tip: Plant tall crops like tomatoes and corn on the north side of your raised bed so they don’t shade smaller plants. Plan your layout with sun direction in mind before you plant. Find our complete Permaculture basics guide.
Watering Your Raised Bed Garden
Because raised beds drain so efficiently, they can dry out faster than in-ground gardens — especially in hot weather. Getting your watering strategy right is important.
How Often to Water
There’s no one-size-fits-all answer, because it depends on your climate, the time of year, what you’re growing, and your soil mix. The best approach is to check the soil moisture regularly by sticking your finger about an inch into the soil. If it feels dry at that depth, it’s time to water. If it still feels moist, wait another day.
As a general rule, most raised bed vegetables need about 1 inch of water per week. During hot summer weather, this might mean watering every day or every other day. During cool, rainy periods, you may not need to water at all.
The Best Watering Methods
Drip irrigation is the gold standard for raised beds. A simple drip system or soaker hose delivers water directly to the root zone, minimizes evaporation, and keeps foliage dry (which reduces disease risk). Many gardeners connect their drip systems to a timer so watering happens automatically.
Hand watering with a wand is perfectly effective for smaller gardens. Use a gentle shower setting rather than a jet, which can compact soil and damage seedlings. Water at the base of plants, not from overhead.
Avoid overhead sprinklers for vegetable beds if possible. Wet foliage invites fungal diseases like powdery mildew and blight.
Mulching to Conserve Moisture
A 2-3 inch layer of mulch on the surface of your raised bed works wonders for moisture retention. Straw, shredded leaves, or wood chips all work well. Mulch keeps the soil cooler in summer, reduces evaporation, and suppresses the few weeds that do manage to appear.
Raised Bed Pest Control and Common Problems
Even the best-managed raised beds encounter pests and problems occasionally. Here’s how to handle the most common challenges.
Aphids
Tiny, soft-bodied insects that cluster on stems and the undersides of leaves, aphids suck plant sap and can spread disease. Control them with a strong blast of water from the hose, insecticidal soap spray, or by encouraging beneficial insects like ladybugs and lacewings.
Slugs and Snails
These nighttime marauders chew ragged holes in leaves and can devastate seedlings. Copper tape around the rim of your raised bed creates a barrier they won’t cross. Iron phosphate slug bait is effective and safe around pets and wildlife. Beer traps — shallow dishes filled with beer sunk into the soil — also work surprisingly well.
Cutworms
These soil-dwelling caterpillars cut seedlings off at soil level overnight. A simple cardboard or plastic collar around the base of each transplant, pushed an inch into the soil, provides effective protection.
Powdery Mildew
A white powdery coating on leaves, usually appearing in late summer. Improve air circulation by spacing plants appropriately and removing affected leaves. A diluted baking soda spray (1 tablespoon per gallon of water) can help control mild cases.
Blossom End Rot
Dark, sunken spots on the bottom of tomatoes and peppers — caused by calcium deficiency, which is often a result of inconsistent watering rather than a lack of calcium in the soil. Keep watering consistent and even, and the problem usually resolves itself.
Pro Tip: The best pest control is a healthy garden. Well-fed plants in good soil with consistent water are far more resistant to pests and diseases than stressed plants. Prevention through good growing practices beats reactive treatment every time.
Seasonal Care and Maintenance
A raised bed garden rewards a little seasonal attention with years of productive growing.
Spring
- Remove any winter mulch and check soil levels — add compost if needed
- Test soil pH and amend if necessary (most vegetables prefer slightly acidic soil, around pH 6.0-6.8)
- Turn the top few inches of soil gently with a fork to break up any surface compaction
- Start cool-season crops like lettuce, spinach, peas, and radishes as soon as soil can be worked
- Transplant warm-season starts after your last frost date
Summer
- Water consistently — check soil moisture daily during heat waves
- Harvest regularly; many plants (beans, zucchini, cucumbers) produce more when picked frequently
- Watch for pests and deal with problems early before they become major infestations
- Side-dress heavy feeders like tomatoes and corn with compost or balanced fertilizer mid-season
Fall
- Pull out spent plants after harvest and add them to your compost pile (unless they were diseased)
- Plant fall crops — many greens actually prefer the cool temperatures of autumn
- Apply a 2-3 inch layer of compost over the bed surface to feed the soil over winter
- Consider planting a cover crop like winter rye or clover to protect and enrich the soil
Winter
- In cold climates, your raised bed rests and recovers
- The compost you applied in fall is being worked in by earthworms and microorganisms
- This is the perfect time to plan next year’s garden, order seeds, and build any new beds
Pro Tips for Getting the Most Out of Your Raised Beds
After years of growing in raised beds, experienced gardeners learn tricks that make a real difference. Here are the most valuable ones.
Start with one bed. It’s tempting to build five beds at once, but starting with a single 4×8 bed lets you learn the system, discover what you love to grow, and make mistakes on a manageable scale before expanding.
Invest in good soil from the start. The biggest mistake new raised bed gardeners make is skimping on soil quality. Your soil is everything — it’s worth spending money on quality compost and amendments rather than saving a few dollars on cheap topsoil.
Keep a garden journal. Note what you planted, when you planted it, what worked and what didn’t, and what pests you encountered. This information is invaluable for planning future seasons and becomes more useful every year.
Succession plant. Instead of planting all your lettuce at once and having a glut followed by nothing, plant a small amount every two weeks through the season. This gives you a continuous harvest rather than a feast-or-famine cycle.
Go vertical. Raised beds have defined footprints, so think vertically. Trellises, arches, and stakes let you grow climbing plants like cucumbers, beans, and peas without taking up additional ground space. DIY garden archway construction guide
Add a cold frame. A simple cold frame — essentially a box with a transparent lid — placed over your raised bed in early spring and late fall can extend your growing season by 4-6 weeks in either direction. In mild climates, it can enable year-round growing.
Rotate your crops. Don’t plant the same family of vegetables in the same spot year after year. Rotating crops (tomatoes one year, beans the next) prevents the buildup of soil-borne diseases and pests specific to each plant family.
Frequently Asked Questions
How deep should a raised bed be for vegetables? For most vegetables, 12 inches is the practical minimum. Root vegetables like carrots and parsnips prefer 18 inches. If back pain is a concern, build to 24-30 inches for a comfortable working height.
Can I put a raised bed on concrete? Yes! Raised beds work very well on concrete, patios, and decks. Make sure the bed is at least 12 inches deep to give roots enough room, and ensure there’s adequate drainage (either through gaps in the bottom of the frame or drainage holes if the bed is on a solid surface).
Do I need to line the bottom of my raised bed? It’s optional but beneficial. Landscape fabric on the bottom suppresses weeds from below while allowing drainage. Hardware cloth (wire mesh) deters moles and gophers in areas where these are a problem.
How much does it cost to build a raised bed? A basic 4×8 cedar bed with quality soil mix typically costs $100-$300 depending on your location and lumber prices. Galvanized steel beds of similar size often run $80-$200. The soil is often the biggest cost — expect to spend $50-$150 filling a standard 4x8x12-inch bed depending on what mix you use.
When should I start my raised bed garden? You can build and fill raised beds any time of year. For spring planting, build your beds in late winter or early spring. For the best results, have your beds built and soil in place at least a few weeks before you plan to plant so the soil can settle and any amendments can begin working.
How do I know if my raised bed soil needs fertilizer? Watch your plants. Pale, yellowish leaves often indicate nitrogen deficiency. Purple-tinged leaves can suggest phosphorus deficiency. A soil test (available cheaply through your local cooperative extension service) takes the guesswork out of soil nutrition and tells you exactly what your soil needs.
Can I grow fruit trees in raised beds? Dwarf and semi-dwarf fruit trees can be grown in very large raised beds or containers, but standard-sized trees need in-ground planting. Strawberries, however, are outstanding raised bed plants and extremely productive in the controlled environment a raised bed provides.
How do I prevent my wooden raised beds from rotting? Choose rot-resistant wood like cedar or redwood, and avoid treated lumber. Make sure the inside of the bed allows drainage rather than holding water against the wood. Some gardeners line the interior with landscape fabric to keep moist soil away from the wood. With cedar, no treatment is necessary — the natural oils provide significant protection.
Raised bed gardening is one of those things that, once you try it, you wonder how you ever gardened any other way. The combination of rich soil, easy maintenance, beautiful design, and impressive harvests makes it hard to go back to traditional in-ground gardening. Start with one bed this season, fill it with a quality soil mix, and grow something you love. You’ll be planning your second bed before the summer is over.
Have questions about your raised bed garden? Drop them in the comments below — we love helping fellow backyard gardeners succeed! 🌱