To capture stunning garden photos, you’ve gotta master lighting! Try shooting during the golden hour, right after sunrise or before sunset, when your flowers glow like they’re in a Disney movie! Don’t forget about backlighting; it creates magical silhouettes and highlights petals beautifully. Experiment with shadows, too—they add depth and drama. For indoor shots, place plants near windows and avoid harsh midday sun. Sounds fun, right? Stick around for more tips that’ll totally transform your garden photography!
Design Highlights
- Capture photos during golden hour to enhance colors and textures with warm, soft light for a magical effect.
- Avoid harsh midday sun; opt for soft morning or late afternoon light to create depth and warmth in your images.
- Experiment with backlighting to create luminous edges and stunning silhouettes by positioning subjects between the light and the camera.
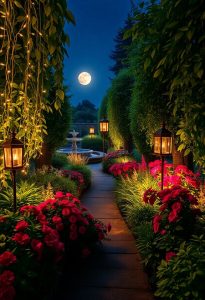
- Use shadows creatively to add depth, intrigue, and dramatic shapes to your garden photography, especially during golden hour.
- For indoor shots, position plants near windows for natural light and choose simple backdrops to highlight the plant’s features.
Understanding Natural Light and Its Impact
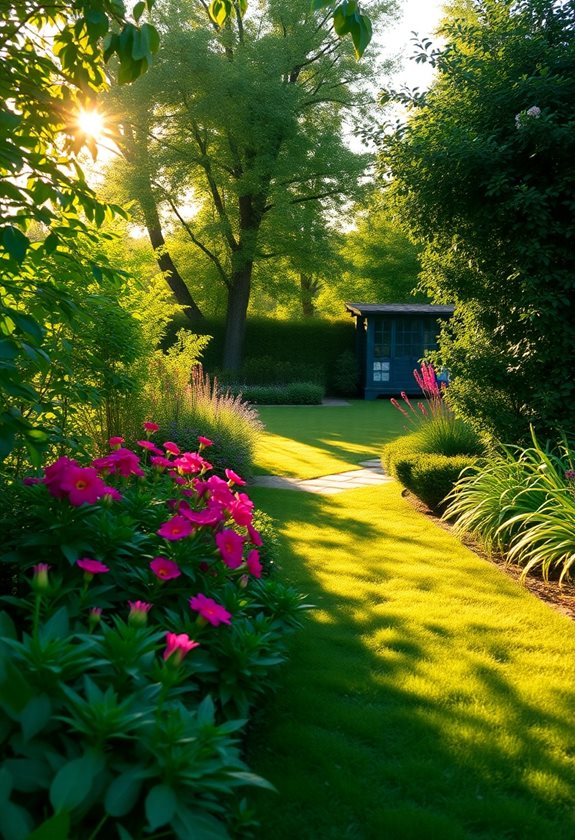
When you step into your garden, do you ever pause to notice how the sunlight dances among the leaves? That play of light can transform your photos from ordinary to extraordinary! Natural light shapes color, mood, and texture.
- Midday sun creates harsh shadows; avoid it if you can.
- Soft morning or late afternoon light adds warmth and depth.
Think about your angles, too! Position yourself to capture light filtering through leaves, creating that magical glow. Experiment with different times of day; you’ll be amazed at how your garden reveals new secrets. So, grab your camera and explore! Incorporating ambient garden lighting can enhance your garden’s visual appeal even after sunset.
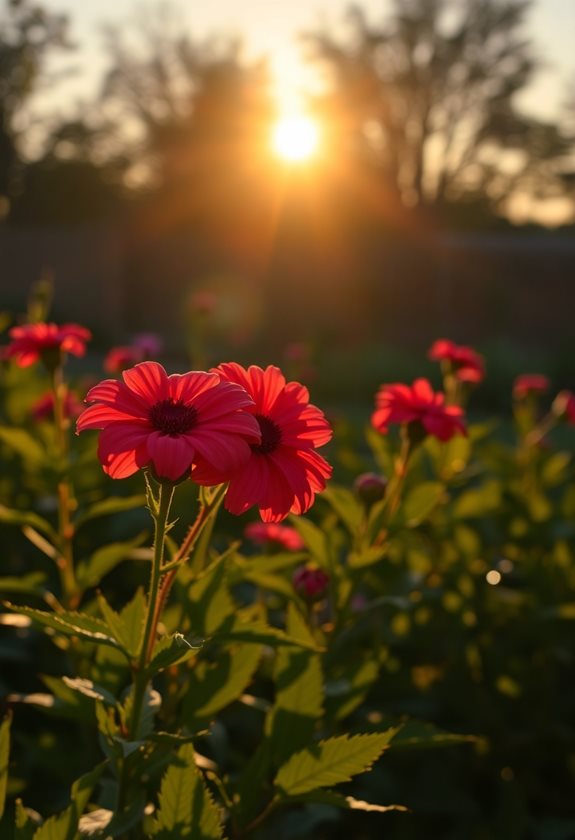
The Magic of Golden Hour
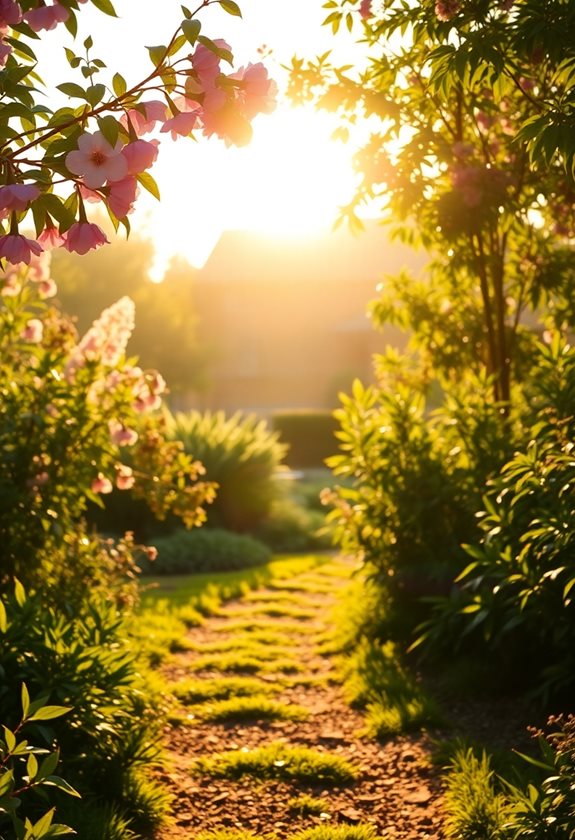
Golden hour isn’t just a fancy photography term; it’s a magical moment that can make your garden photos sparkle like a treasure chest. This enchanting time, just after sunrise or before sunset, bathes your garden in warm, golden light, enhancing colors and textures. You’ll notice how flowers seem to glow and shadows become softer.
Here’s a tip: set your camera to capture the vibrant hues, and don’t forget to experiment with angles!
Why not try capturing a bee mid-flight or a dewdrop on a petal? It’s these little moments that truly shine during golden hour, creating breathtaking memories! Additionally, incorporating budget-friendly lighting into your garden can further enhance the enchanting atmosphere during this magical time.
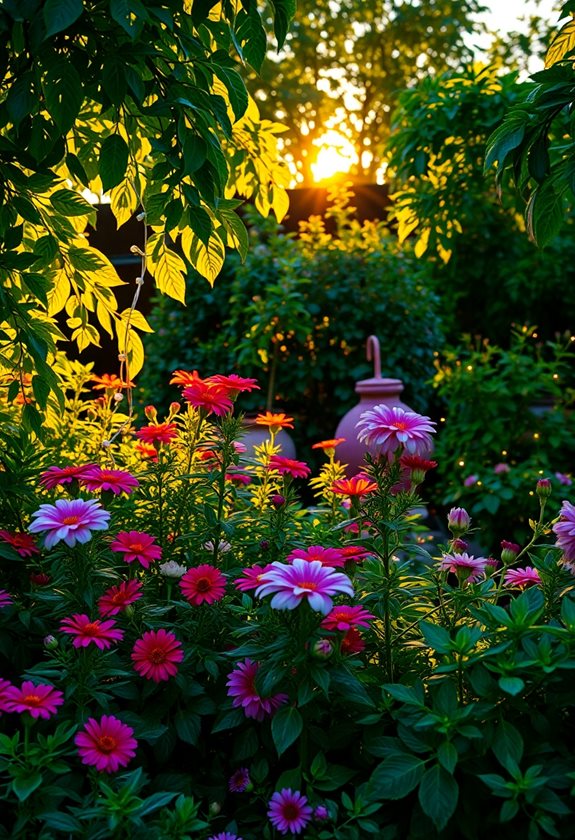
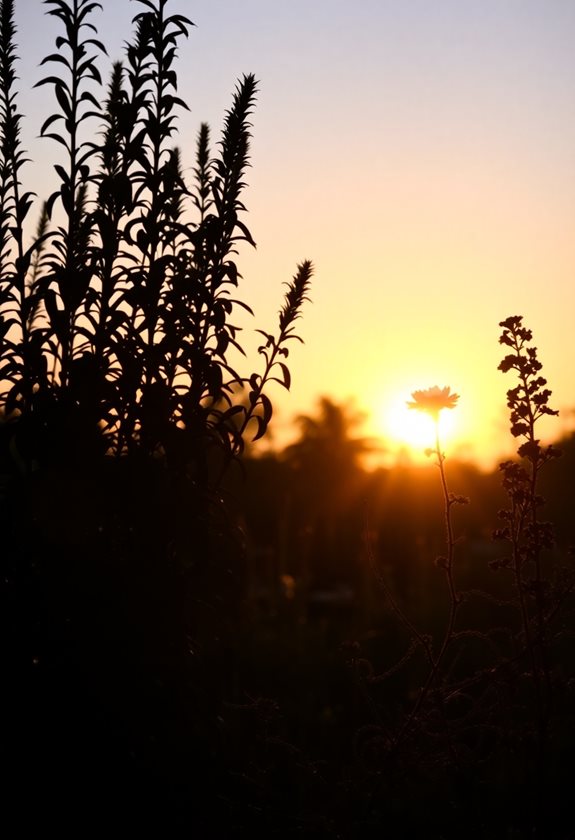
Utilizing Backlighting for Dramatic Effects
Have you ever noticed how backlighting can turn an ordinary garden scene into something downright magical? When you position your subject between the light source and your camera, you create stunning silhouettes and luminous edges. Try this during golden hour!
Backlighting transforms your garden photos into enchanting scenes, revealing beautiful silhouettes and radiant edges—perfect for golden hour!
- Capture flowers with sunlight filtering through petals for a glowing effect.
- Experiment with leaves, making them appear almost translucent.
Just remember, the key is to expose for the bright light behind, letting the foreground take on a dramatic tone. Embrace the challenge—backlighting can elevate your garden photos from simple snapshots to breathtaking works of art! Isn’t that exciting? Additionally, using proper lighting techniques can enhance the overall ambiance of your garden scene, making your photos even more captivating.
Experimenting With Shadows and Silhouettes
While you might think of light as the star player in photography, shadows and silhouettes can be just as enchanting, adding depth and intrigue to your garden photos. Why not play around with shadows cast by plants? They create dramatic shapes that can turn an ordinary shot into something magical! Try shooting during the golden hour—those long shadows can be mesmerizing. Silhouettes, too, can convey strong emotions; capture your favorite flower against a sunset, and watch the magic unfold! Don’t be afraid to experiment. After all, isn’t photography about capturing your unique perspective? Immerse yourself, and let your creativity bloom! Additionally, using lighting techniques can help enhance the overall aesthetic of your shots.
Tips for Indoor Garden Photography
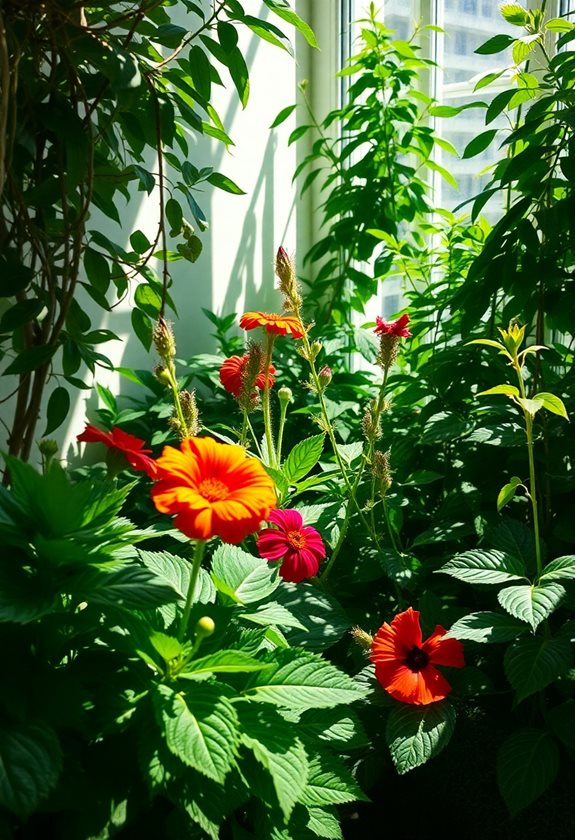
Indoor gardening can be a delightful hobby, but capturing the lush beauty of your plants through photography can feel like a bit of a challenge. To master indoor garden photography, consider these tips:
- Use natural light: Position your plants near windows, but avoid harsh noon sun.
- Experiment with angles: Try shooting from above or at eye level to find the most enchanting view.
- Play with backgrounds: A simple backdrop can make your plants pop!
- Focus on details: Capture the textures and colors of leaves.
Additionally, enhancing your indoor garden with twinkle lights can create a magical ambiance that elevates your photography. With practice, you’ll turn your indoor jungle into a stunning photographic masterpiece! Ready to snap away?
Frequently Asked Questions
What Camera Settings Are Best for Garden Photography?
When you’re diving into garden photography, think about your settings like this: use a wide aperture (f/2.8 to f/5.6) for those dreamy backgrounds! Don’t worry about it being complicated; just remember—more light means clearer images. Set your ISO low (100-400) to avoid noise. If it’s bright, a fast shutter speed (1/250s or faster) will freeze those fluttering butterflies. Trust me, experimenting will help you capture your garden’s beauty effortlessly!
How Can I Enhance Colors in My Garden Photos?
To enhance colors in your garden photos, try adjusting your camera settings or using post-processing apps. Have you considered shooting during the golden hour? That soft light makes colors pop! You can also tweak saturation and contrast in editing software. Don’t forget to experiment with angles—sometimes a low angle can reveal vibrant colors hidden from above. Remember, patience is key; it might take a few tries to get that perfect shot!
Should I Use a Tripod for Garden Photography?
Absolutely, you should use a tripod for garden photography! It’ll help you achieve sharp images, especially in low light. Have you ever tried capturing those delicate petals but ended up with blurry shots? Frustrating, right? A tripod stabilizes your camera, letting you focus on composition. Plus, it frees up your hands for adjusting settings or enjoying a revitalizing lemonade! So, grab that tripod and start snapping those stunning garden moments!
What Time of Day Is Best for Photographing Flowers?
When’s the best time to capture your colorful blooms? Morning magic or golden hour in the evening can work wonders! During these times, sunlight’s softer, creating stunning shadows and vibrant colors. Try shooting around sunrise or sunset for that perfect glow. Don’t forget, overcast days can also offer great results, diffusing harsh light. Have you felt the thrill of snapping a dew-kissed flower? It’s like nature’s gift waiting for your lens!
How Do I Avoid Overexposed Highlights in My Images?
To avoid overexposed highlights in your images, you’ve gotta pay attention to your settings! Start by lowering your ISO, or try using a smaller aperture to control light. Do you ever shoot during golden hour? It’s a game-changer! You could also use a polarizing filter to manage glare. Remember, even adjusting your angle can make a difference. Got a favorite spot in your garden? Experiment with these tips—your photos will shine!