Want to add some magic to your garden? It's super simple! First, gather materials like LED string lights and mason jars—trust me, they look amazing! Next, connect the lights and place them inside the jars. Finally, hang them in your favorite spots using sturdy hooks. How exciting is that? You can create a cozy atmosphere for gatherings or just enjoy the twinkling glow! If you're curious about more tips, I've got plenty to share!
Important Highlights
- Gather materials like LED string lights, mason jars, and decorations to create an attractive setup for your fairy lights.
- Assemble the lights by securely connecting them to a power source and ensuring they are waterproof for outdoor use.
- Choose ideal locations in your garden, using sturdy hooks for secure hanging and enlist a friend's help for safety.
- Regularly inspect your lights and connections for wear and tear to maintain safety and functionality.
- Enjoy the transformed ambiance in your garden, capturing moments and experimenting with different arrangements for added charm.
Gather Your Materials

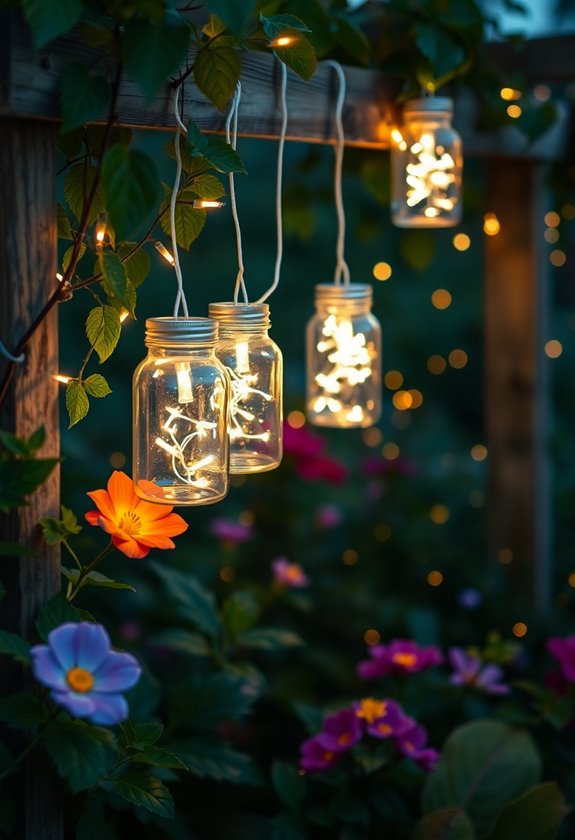
Gathering your materials is the first exciting step toward creating your very own magical garden fairy lights! You'll need twinkling string lights, colorful mason jars, and some fairy-themed decorations. Don't forget scissors and a sturdy extension cord for safety!
Here's a quick checklist:
- String lights: LED is safest and energy-efficient.
- Mason jars: These will house your lights beautifully.
- Decorations: Think glitter, ribbons, or even tiny figurines!
Using twinkling light magic in your garden can transform your outdoor space into a whimsical retreat. Are you ready to bring some sparkle to your garden? Just remember to double-check that everything's safe and secure. Let's get started!
Assemble the Fairy Lights

As you plunge into assembling your fairy lights, just imagine how enchanting your garden will look once they're twinkling away! Start by carefully connecting the lights to the power source, ensuring everything's secure. Don't forget to check the voltage for safety! Here's a handy overview:
| Component | Purpose |
|---|---|
| LED Lights | Provide the fairy glow |
| Wire | Connects everything safely |
| Power Source | Powers your magical display |
| Waterproof Cover | Protects from weather elements |
Now, take your time and enjoy this creative process—it's all about making your garden sparkle! Remember, choosing lights with IP65 waterproof ratings ensures they will withstand various weather conditions.
Hang and Enjoy Your Magical Creation
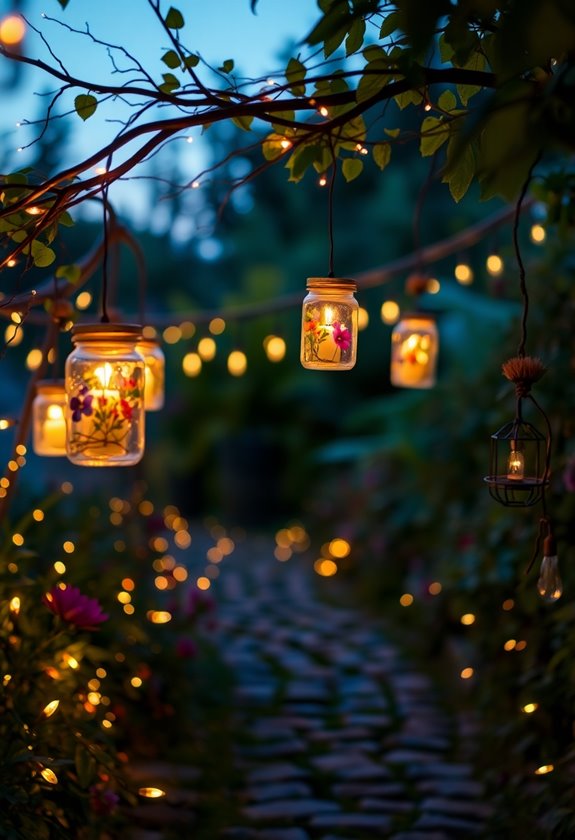
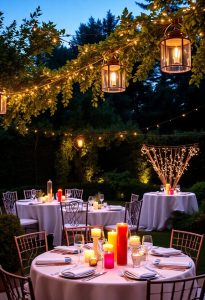
Once you've got your fairy lights all set up, it's time to hang them and let the magic begin! Choose spots that'll showcase their glow—think trees, fences, or even your porch. Make sure to use sturdy hooks or adhesive clips for safety. If you're working on a ladder, have a friend hold it steady. As you hang, imagine how they'll twinkle on warm evenings. To enhance the enchanting effect, consider using stunning outdoor lights that can complement your fairy lights beautifully. Once everything's in place, step back and admire your work! Isn't it thrilling to see your garden transformed? Don't forget to invite friends over to experience the enchanting ambiance—because magic's even better when shared!
Frequently Asked Questions
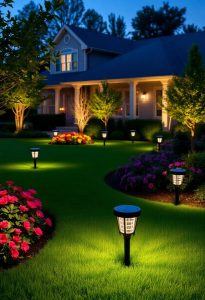
Can I Use Solar-Powered Lights for This Project?
Absolutely, you can use solar-powered lights for your project! They're eco-friendly, cost-effective, and perfect for adding charm to your garden. Just make sure to place them in a spot that gets plenty of sunlight during the day. You'll love how they glow at night! Plus, you won't have to worry about tangled cords or batteries. Isn't that a relief? So, go ahead and let your garden shine with those twinkling lights!
What Types of Containers Work Best for Fairy Lights?
When it comes to containers for your fairy lights, the options are practically limitless! You'll want something safe and sturdy. Think glass jars, metal lanterns, or even colorful plastic buckets. Just make sure they're weather-resistant if you're placing them outdoors. You can even repurpose old containers like coffee cans or wine bottles. Got a favorite? Just remember to avoid flammable materials! Which containers spark your creativity? Let's light up your garden!
How Long Do the Lights Typically Last?
Fairy lights typically last around 20,000 to 50,000 hours, depending on the type and quality. That's a lot of twinkling nights! Isn't it amazing? To maximize their lifespan, make sure you're using them in dry conditions and avoiding overexposure to harsh weather. If you've ever dealt with burnt-out bulbs, you know the frustration. So, why not try LED lights? They're energy-efficient and can brighten your garden for seasons to come!
Are There Any Safety Tips for Outdoor Use?
When using lights outdoors, safety's key! You should always check for weatherproof ratings—nobody wants a shock, right? Keep cords off the ground to avoid trip hazards, and make sure they're securely plugged in. Also, consider using timers to prevent overheating. Have you ever seen flickering lights? That's a sign to unplug! So, prepare your garden for magical evenings while keeping safety a priority. Happy lighting and enjoy those enchanted nights!
Can I Customize the Colors of the Lights?
Absolutely, you can customize the colors of your lights! It's a fun way to add your personal touch. Just think about using colored bulbs or LED strips in different hues. You could even mix and match colors for a whimsical look. How about having a rainbow theme for a party? Just remember to check that the lights are suitable for outdoor use. Your garden will shine bright in no time! Isn't that exciting?