
Installing a solar-powered fountain in your garden is a rewarding project! Start by choosing the right fountain that matches your space, ensuring it blends with your plants. Pick a sunny spot with at least six hours of sunlight. Clear the area, then assemble the fountain by connecting the pump and tubing. Fill it with water, adjust the settings, and watch your garden come alive! Curious about maintenance tips to keep it sparkling? Stick around to discover more!
Design Highlights
- Choose a sunny location with at least six hours of direct sunlight for optimal performance and visibility from desired viewing areas.
- Clear the installation site of debris and ensure the ground is level before setting up the fountain.
- Assemble the fountain by connecting the pump to the tubing and ensuring all components are securely in place to prevent leaks.
- Regularly maintain the fountain by cleaning it and checking for debris or clogs in the pump and solar panel.
- Incorporate eco-friendly solar lanterns to enhance ambiance and ensure the fountain complements existing garden aesthetics.
Choosing the Right Solar-Powered Fountain

When you’re contemplating adding a solar-powered fountain to your garden, it can feel a bit overwhelming, especially with so many options out there! You’ll want to think about size, style, and functionality. Do you prefer a small, whimsical design or a grand centerpiece? Look for durable materials like resin or stone to guarantee safety and longevity. Check the pump’s wattage—higher wattage means better performance. Don’t forget to reflect on how it’ll blend with your plants! A fountain can be a relaxing addition, but it shouldn’t clash with your garden’s vibe. Additionally, consider incorporating eco-friendly solar lanterns, as they can beautifully complement your fountain and enhance the ambiance of your garden. Ready to jump in and make your garden shine?
Selecting the Perfect Location
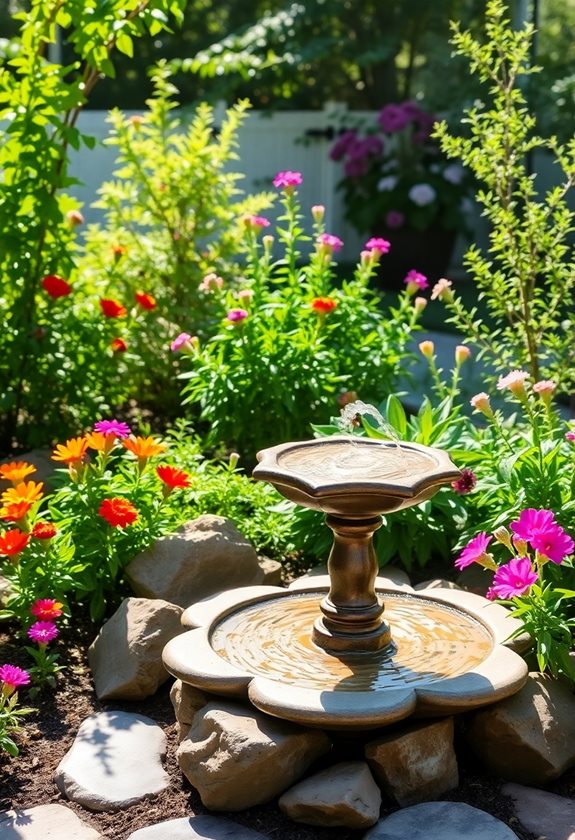
Selecting the perfect location for your solar-powered fountain is just as essential as picking the right design. You want to place it where sunlight shines brightly, ideally for at least six hours a day. Think about visibility—do you want to enjoy its beauty from your patio? Safety matters too; avoid spots near heavy foot traffic or where kids might run. Also, consider nearby trees; while they provide shade, falling leaves can clog the pump! Finally, guarantee it’s on level ground to avoid any mishaps. Additionally, ensuring algae prevention in your fountain will help maintain its sparkling appearance and prolong its lifespan. So, what’s your vision? Let that guide your choice! Your garden deserves that special sparkle!
Preparing the Site for Installation
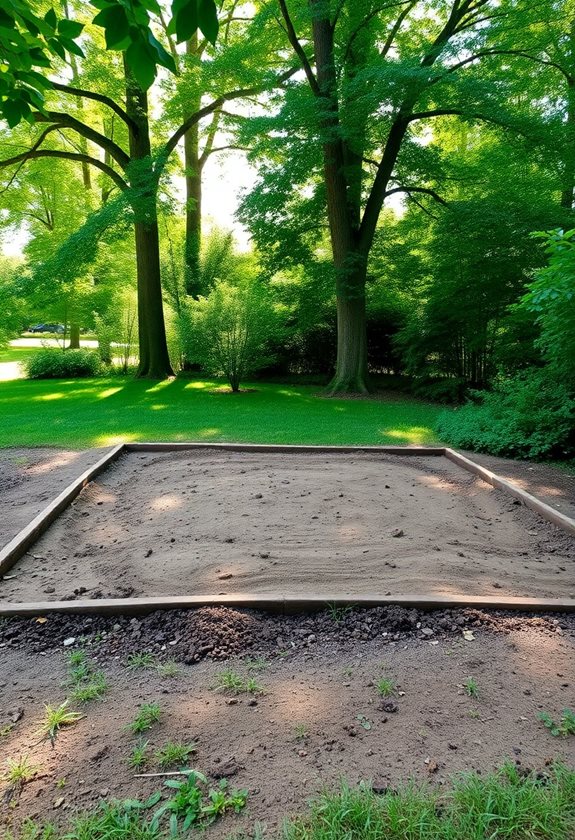
With your fountain’s perfect spot picked out, it’s time to roll up your sleeves and prepare the site for installation. Start by clearing away any debris, rocks, or pesky weeds—nobody wants a tripping hazard! Next, verify the ground is level; you can use a shovel or even your feet to pack down uneven areas. It’s also smart to check for any underground utilities before digging. Did you know that a little prep can save you from headaches later? Additionally, consider the design and aesthetics of your fountain to ensure it complements your garden’s overall vibe. Finally, consider how you’ll run the solar panel wire—keeping it safe and tidy is key! Your garden deserves it!
Assembling the Fountain Components

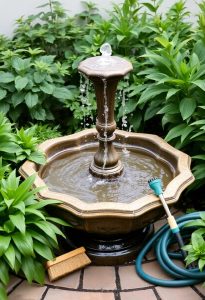
Let’s plunge into the fun part—assembling your fountain components! First, gather your pump, tubing, and fountain bowl. Make sure you’ve got everything laid out; it’ll save you time later. Start by connecting the pump to the tubing securely—no one wants a fountain that sprays more water than it should! Next, place the pump inside the bowl, ensuring it’s submerged but not blocked. Are you following along? Once that’s done, you can connect the other end of the tubing to the fountain head. Trust me, it’s easier than it sounds! Just remember to check for leaks before you call it a day! Additionally, consider investing in affordable water features that can enhance your garden’s ambiance while being budget-friendly.
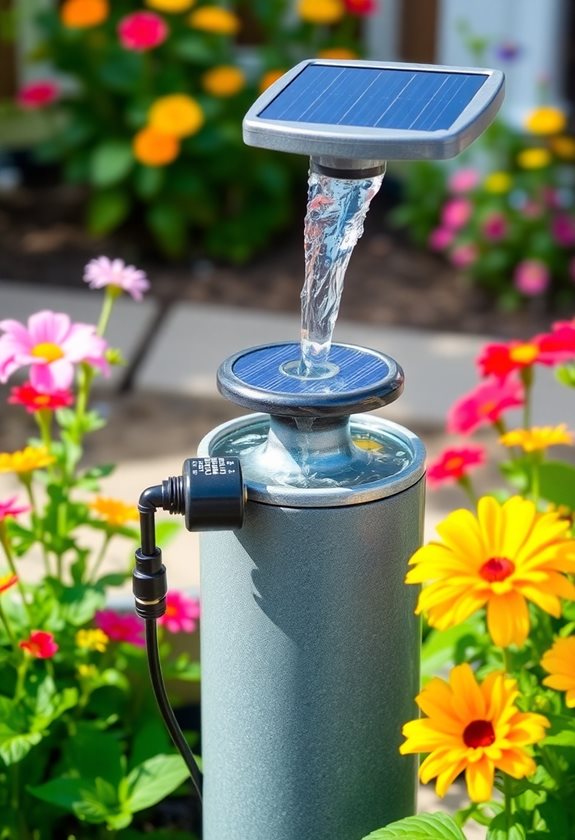
Installing the Solar Panel
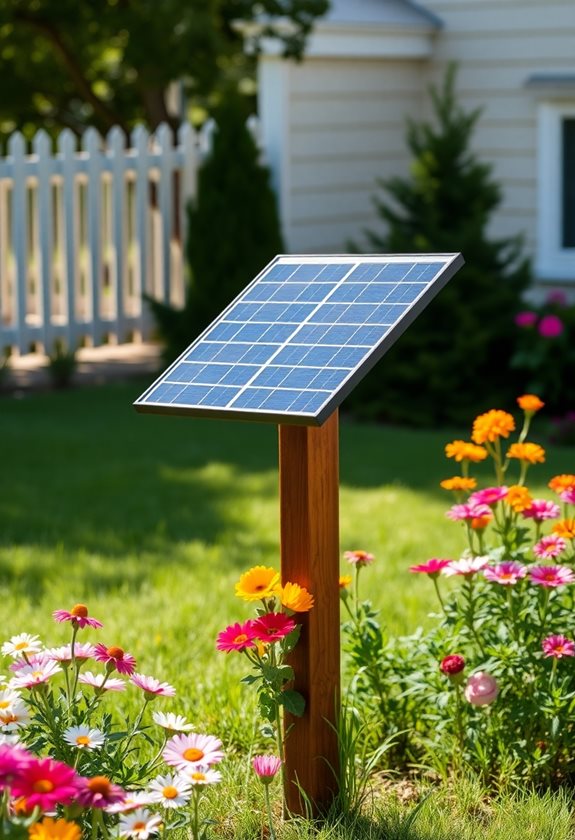
Installing the solar panel can feel a bit like a treasure hunt, especially when you realize how much it contributes to your fountain’s magic! First, find a sunny spot—ideally, one that gets at least six hours of sunlight daily. Make certain it’s on a stable surface and away from overhanging branches. Use a level to verify it’s straight; trust me, you don’t want any wonky angles! Secure it with screws or brackets, and double-check your connections. Remember to keep your workspace clear of debris. To enhance the ambiance of your garden, consider incorporating creative solar lighting ideas that complement your fountain. A little care now means a dazzling fountain later—how exciting is that? Happy installing!
Connecting the Pump and Fountain
Connecting the pump to your fountain is where the real magic begins! This step is essential for guaranteeing everything runs smoothly. Start by positioning the pump inside the fountain basin. Secure the tubing from the pump to the fountain’s spout, making sure it fits snugly to prevent leaks. Don’t forget to check that all connections are tight! A loose connection could lead to frustrating drips. If you’ve got a solar panel, verify it’s positioned correctly to power the pump. Remember, safety first! Keep electrical connections dry and away from water. Additionally, using solar-powered fountains can significantly enhance your garden’s eco-friendliness. Aren’t you excited to see your fountain come to life?
Filling the Fountain With Water
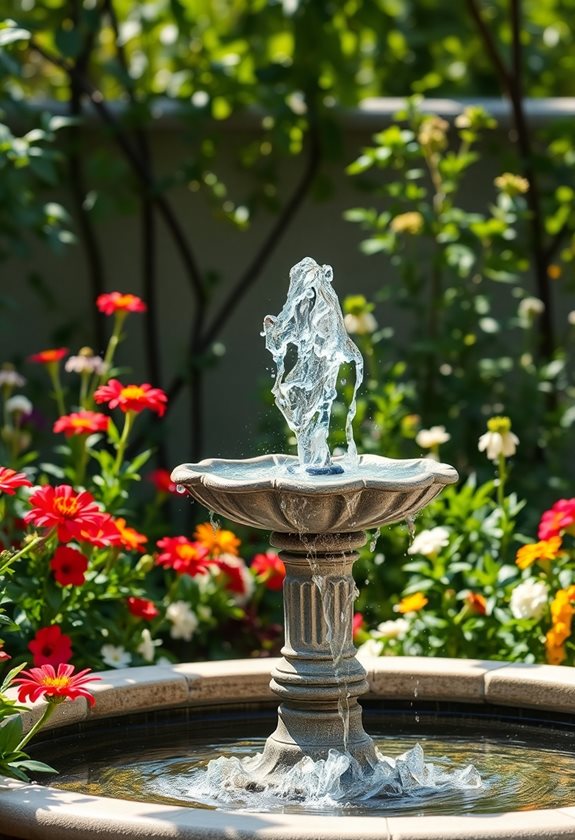
Filling your fountain with water is like adding the finishing touch to a masterpiece; it brings everything to life! First, make sure the fountain’s base is clean and free of debris. Then, grab a hose or bucket and fill it slowly, ensuring you don’t splash water everywhere—trust me, it can get messy! Keep an eye on the water level; aim for about two-thirds full to prevent the pump from running dry. And don’t forget to check for leaks! You wouldn’t want a surprise puddle in your garden, right? Enjoy the soothing sounds of your new oasis!
Adjusting the Fountain Settings
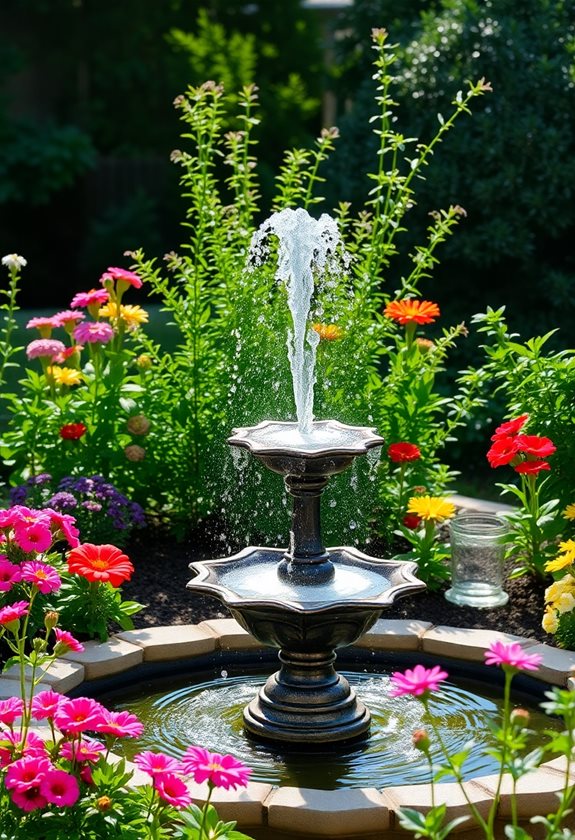
Have you ever wondered how to get the most out of your solar-powered fountain? Adjusting the settings can enhance your garden’s charm and guarantee safety. Here’s how to get started:
- Water Flow: Experiment with the fountain’s height. A gentle trickle can be calming, while a stronger spray adds excitement.
- Sunlight Position: Make certain the solar panel gets direct sunlight for ideal performance.
- Timing: Consider using a timer to assure the fountain runs during peak hours, preventing unexpected splashes! Additionally, investing in top-rated solar garden lights can complement your fountain and create a picturesque evening ambiance.
Maintaining Your Solar-Powered Fountain
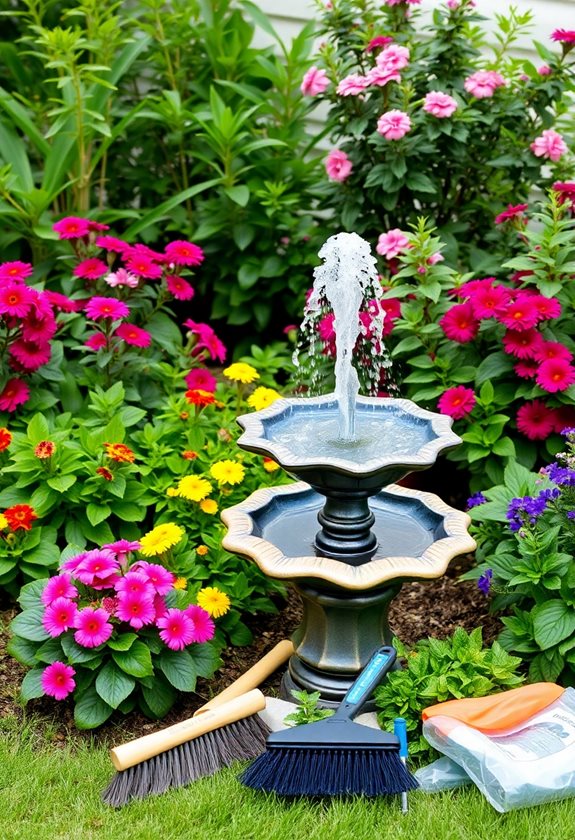
While you might think that setting up your solar-powered fountain is the hard part, maintaining it can be just as essential for keeping the magic alive in your garden oasis! Regularly check for debris, like leaves or dirt, that might clog the pump. A quick rinse can do wonders! Additionally, guarantee the solar panel gets enough sunlight—trim nearby branches if needed. Don’t forget to clean the fountain every few weeks; it’ll sparkle more and prevent algae buildup. Ever had a fountain that just wouldn’t flow? It’s frustrating, right? With a little care, you’ll enjoy your tranquil garden retreat for years! Incorporating water features into your garden design can enhance both aesthetics and tranquility.
Frequently Asked Questions
How Do Solar-Powered Fountains Work During Cloudy Weather?
Solar-powered fountains can still work during cloudy weather, though their performance may drop a bit. Don’t worry! The solar panels capture indirect sunlight, so your fountain might still run, just not at full power. Imagine a rainy day when you still want to enjoy that soothing sound of water! Just keep your fountain clean and positioned well. Plus, adding a backup battery can save the day when the sun’s hiding! Isn’t that handy?
Can I Use a Solar Fountain in Winter?
You might think using a solar fountain in winter isn’t a good idea, but you can! Just remember, sunlight’s limited, so your fountain may not run as much. To keep it safe, make sure you store it indoors during extreme cold to prevent damage. If there’s a sunny day, let it shine! Your garden will still benefit from the winter charm. Isn’t it fun to keep things lively, even in the cold?
What Maintenance Do Solar Panels Require?
You’ll love how easy solar panels are to maintain! Just check them regularly for dirt or debris. A quick rinse with water keeps them efficient. Make sure their connections are secure, too. If they’re not working well, it might be time to replace the batteries. And hey, don’t forget to keep an eye on your garden’s shade; too much can lessen their performance! Who knew being a gardener could be this fun?
Are Solar-Powered Fountains Safe for Pets?
Solar-powered fountains can be safe for pets, but you should keep a few things in mind. Make sure the fountain’s water is clean and free from chemicals, as pets might drink from it. Additionally, check that the fountain’s parts are securely fastened; we don’t want any curious paws getting caught! You’ll love watching your furry friends enjoy the water, just like my dog does in our garden! Isn’t that adorable?
How Long Do Solar Fountain Batteries Last?
So, you’re curious about solar fountain batteries, huh? Imagine this: a superhero battery, saving your garden from dullness! Typically, these batteries last anywhere from 2 to 5 years, depending on usage and maintenance. Want yours to shine longer? Keep it clean and store it away during winter. Isn’t it thrilling to think your garden could sparkle all season? Just remember, like your favorite plants, they need care too! What’s more exciting than that?