If you’re ready to create some awesome homemade garden stepping stones, you’ll need a few key materials! Grab cement or concrete mix, sturdy molds (think old cake pans!), and water. Mixing tools like a trowel or spatula will come in handy, and don’t forget those fun decorative elements like glass gems or leaves. A release agent makes removing stones easier, and sealant will protect them from the elements. Aren’t you excited to see how your stones will turn out? Stick around for tips on crafting them perfectly!
Design Highlights
- Concrete Mix: Use a premixed concrete for durability and strength in outdoor environments.
- Molds: Choose sturdy molds like plastic containers or silicone molds to shape the stepping stones.
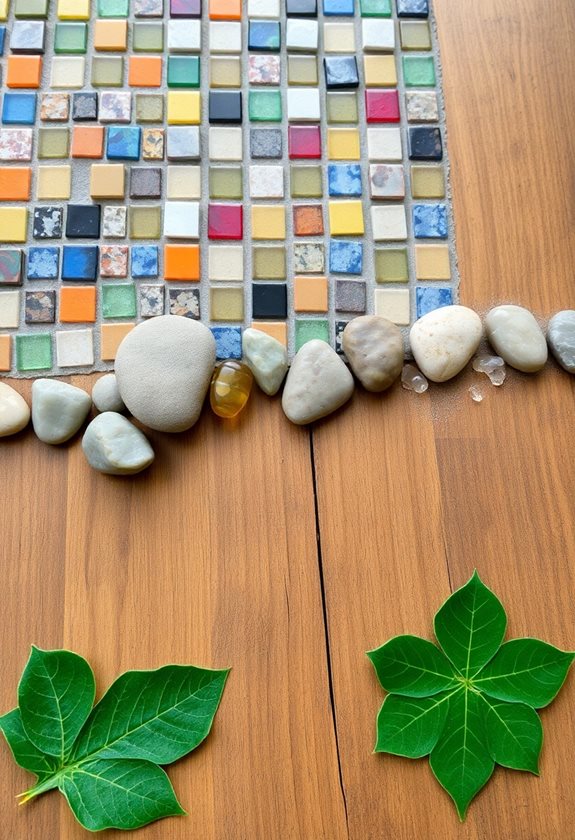
- Decorative Elements: Gather non-toxic items like glass gems, pebbles, leaves, or flowers for personalization.
- Water: Measure water carefully to achieve a thick pancake batter consistency, ensuring strong stones.
- Sealant: Use a waterproof sealant to protect stones from moisture and enhance longevity outdoors.
Cement or Concrete Mix

Here’s a quick checklist:
- Safety First: Always wear gloves and a mask to protect yourself.
- Water Ratio: Follow the instructions carefully; too much water can weaken your stones.
- Experiment: Don’t hesitate to add color or textures! Additionally, using unique DIY designs can enhance the visual appeal of your garden stepping stones.
Molds for Shaping
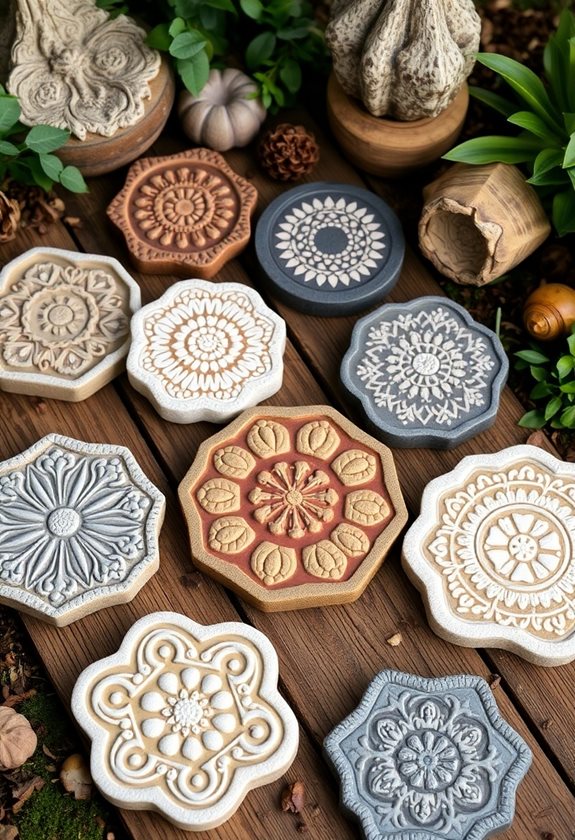
Once you’ve got your cement or concrete mix all set, the next exciting step is choosing the right molds for shaping your stepping stones. You can use anything from plastic containers to silicone molds—whatever sparks your creativity! Just make sure your molds are sturdy and safe to handle.
Choosing the perfect molds for your stepping stones is the next fun step—get creative with whatever inspires you!
Here are some fun options:
- Old cake pans for round stones
- Plastic buckets for larger shapes
- Leaf molds for a nature-inspired look
Additionally, using DIY stepping stone projects can help you explore various designs and styles for your garden.
Water
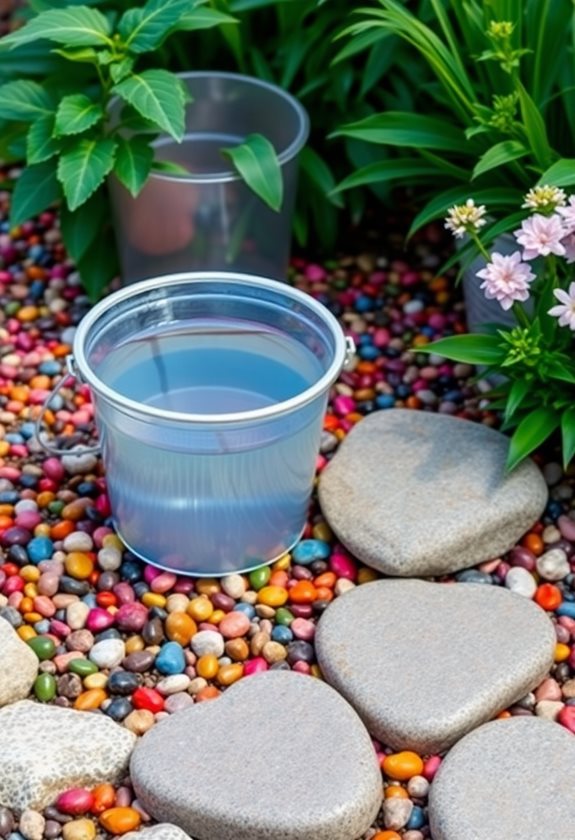
Water is like the lifeblood of your homemade garden stepping stones, and getting it right is essential! You’ll need to strike a perfect balance—not too much, or your stones will be weak, and not too little, or they won’t set properly. Aim for a consistency that feels like thick pancake batter.
Here’s a quick tip:
– Start with a cup of water and adjust as needed.
Have you ever added too much water? Yikes! It’s a slippery slope! So, take your time, measure carefully, and watch your stepping stones transform into something beautiful for your garden. Exciting, right? Additionally, ensure that your mixture is weather-resistant materials to enhance the durability of your stepping stones.
Mixing Tools

Mixing your garden stepping stone ingredients can be a fun and messy adventure! To get started, you’ll need a few crucial tools. A sturdy mixing bucket is essential—make sure it’s large enough to hold your materials without spilling. You’ll also benefit from a trowel or shovel for stirring, and a measuring cup for precise ingredient ratios. Don’t forget gloves to keep your hands clean and safe! Oh, and an apron might save your clothes from unexpected splashes! Have you ever tried mixing concrete? It can be a workout, but the satisfaction of creating something beautiful makes it all worthwhile! Using essential garden tools can make the process even smoother and more enjoyable.
Decorative Elements
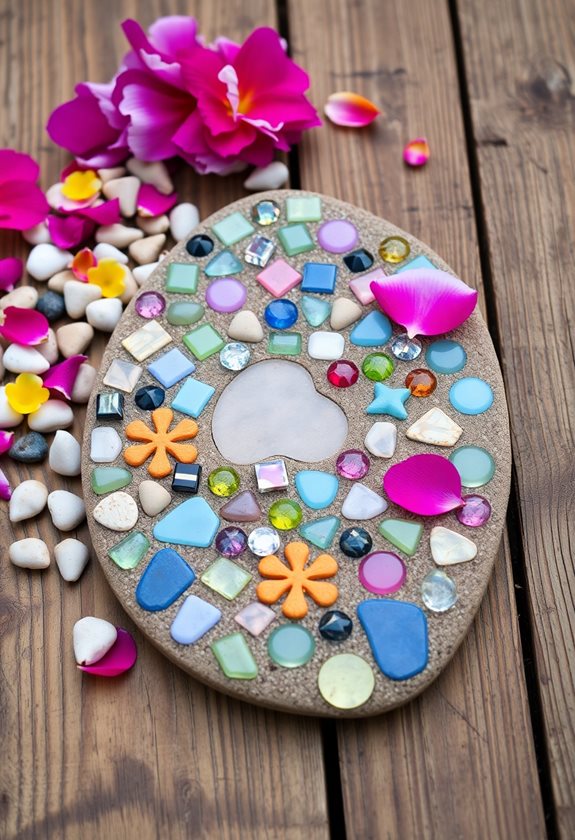
When it comes to adding personality to your homemade garden stepping stones, decorative elements can truly elevate your creations! Think about incorporating items like colorful glass gems, smooth pebbles, or even shells you’ve collected on beach trips. You could also use leaves or flowers to create natural impressions—just remember to press them in well! Don’t forget about safety; verify any materials you choose are non-toxic and sturdy enough for outdoor use. Want to add some fun? Try using stencils to paint designs! With these touches, your stepping stones will be unique and reflect your personal style. How exciting is that? Additionally, consider using step-by-step guides to ensure you create stones that are both beautiful and durable.
Release Agent
After you’ve added those delightful decorative elements to your homemade garden stepping stones, there’s one more important step to think about: using a release agent. This handy product guarantees your stones pop out of the mold without a hitch! You wouldn’t want to lose all that hard work, right?
Here’s how to use it:
Ensure your stones release smoothly by applying a thin layer of release agent to your mold before pouring!
- Spray or brush a thin layer onto your mold.
- Let it dry for a few minutes.
Whether you choose cooking spray or a commercial release agent, it’s a game-changer. Trust me, your future self will thank you when those beautiful stones come out perfectly! Additionally, consider enhancing your garden by incorporating affordable DIY water features, which can further elevate your outdoor space.
Safety Gear
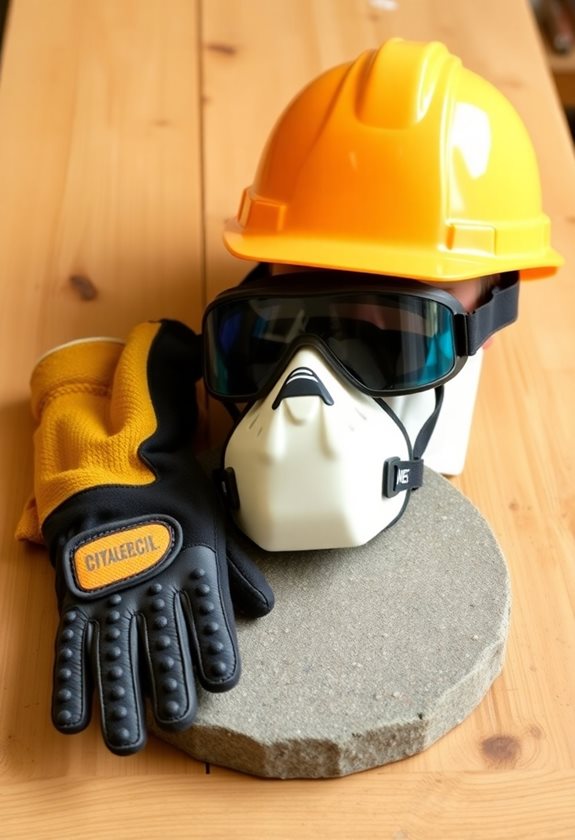
Before you plunge into crafting those stunning garden stepping stones, let’s chat about something super important: safety gear! You don’t want to risk a mishap while you’re getting creative, right? So, here’s what you need:
- Safety goggles to protect your eyes from flying debris.
- Gloves to keep your hands safe from rough edges and chemicals.
- Dust mask for when you’re mixing materials, so you don’t breathe in any dust.
Trust me, it’s way better to be safe than sorry! Plus, wearing gear can make you feel like a true crafting superhero. Homemade garden stepping stones can be a fun and rewarding project, but safety should always come first. Ready to rock those stones?
Trowel or Spatula
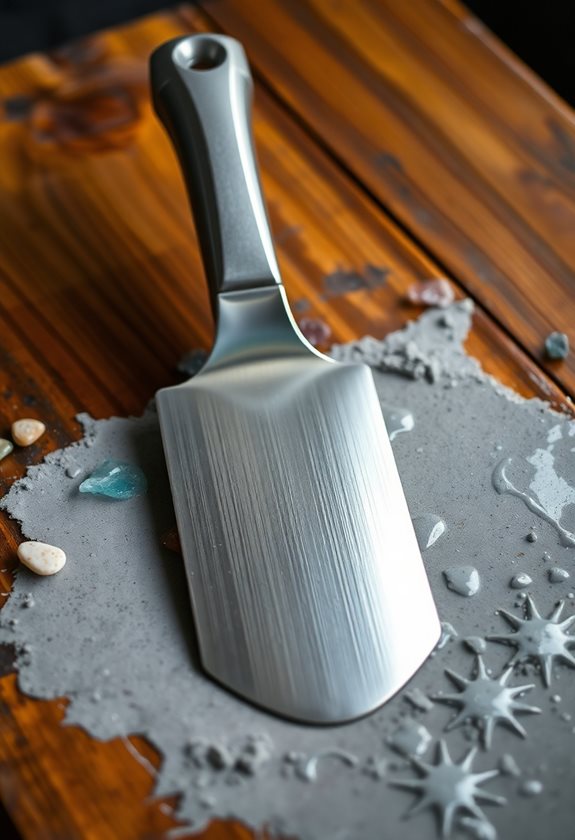
Crafting your homemade garden stepping stones is a lot like baking your favorite cookies—having the right tools makes all the difference! A sturdy trowel or spatula is essential for mixing and smoothing your concrete. Trust me, you don’t want a flimsy tool when you’re dealing with thick mixtures!
Crafting garden stepping stones requires the right tools—choose a sturdy trowel or spatula for the best results!
- Choose a trowel for precision in spreading.
- Opt for a spatula if you’re into detail work.
Whichever you pick, guarantee it feels comfortable in your hand. A good grip prevents accidents and keeps your project safe. Additionally, consider the importance of timing in your garden design to enhance its overall appeal. So, which tool will you choose for your garden masterpiece? Happy crafting!
Sealant
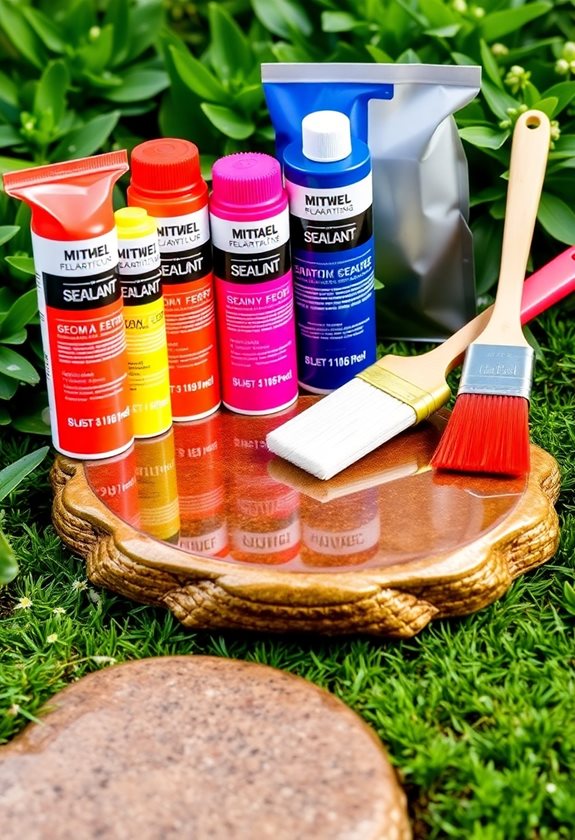
Once your stepping stones are shaped and ready to shine, it’s time to think about how to protect them from the elements. A good sealant can be your best friend! It not only enhances their beauty but also guards against moisture and wear. Look for a waterproof sealant that’s safe for outdoor use.
Incorporating water features into your garden design can also complement the aesthetics of your stepping stones.
Here’s how to apply it:
- Clean the stones thoroughly.
- Wait until they’re completely dry.
- Use a brush or spray to apply an even layer.
Trust me, you’ll appreciate this extra step when your stones last for years. Who doesn’t love a beautiful, durable garden path?
Frequently Asked Questions
How Long Does It Take for Stepping Stones to Cure Completely?
Once you’ve poured your stepping stones, you’ll find they need about 24 to 48 hours to set. But don’t rush it! For a full cure, give them a solid week—this guarantees they’re strong enough to handle foot traffic. Think of it like waiting for cookies to cool; patience pays off! You wouldn’t want a crumbly stone, right? So, grab a book, relax, and let those beauties harden up!
Can I Use Colored Cement for My Stepping Stones?
Absolutely, you can use colored cement for your stepping stones! It adds a fun pop to your garden. Just make sure the color is safe and weather-resistant. You’ll mix the color in with the cement before pouring it into your mold. For a personal touch, consider adding decorative stones or shells. Who wouldn’t love stepping on a vibrant, unique creation? Have fun experimenting, and let your creativity shine!
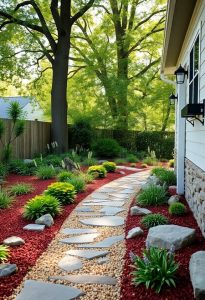
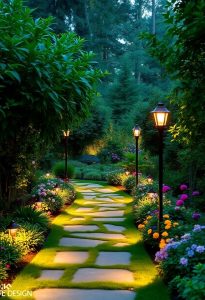
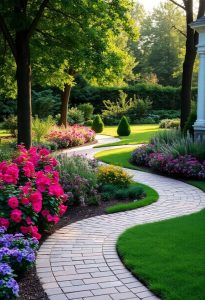
What Is the Best Outdoor Location for Stepping Stones?
When choosing the best outdoor location for your stepping stones, think about safety and accessibility! You’ll want a spot that leads to your garden or patio without any trip hazards. Consider these points:
- Sunlight: Make sure they get enough light to dry after rain.
- Traffic: Place them where people walk often, but not too close to plants.
Isn’t it exciting to create a beautiful path? Your garden will thank you!
How Thick Should My Stepping Stones Be for Durability?
Think of your stepping stones like the foundation of a cozy home—solid and dependable! For durability, aim for at least 2 inches thick. This thickness can withstand weather and foot traffic without cracking. If you’re feeling adventurous, go for 3 inches for extra strength! Just imagine your friends admiring your garden path, feeling safe and secure as they stroll through. Remember, sturdy stones create a welcoming vibe in your backyard paradise!
Are Homemade Stepping Stones Safe for Children and Pets?
Absolutely, homemade stepping stones can be safe for kids and pets! Just make sure they’re smooth, without sharp edges, and use non-toxic materials. Consider these tips:
- Choose thicker stones for stability.
- Seal them with a pet-safe finish.
- Make them colorful and fun!
It’s like creating mini art pieces! Just imagine your kids giggling while hopping on vibrant stones. With a little care, you’ll have a safe, playful garden pathway everyone can enjoy!