
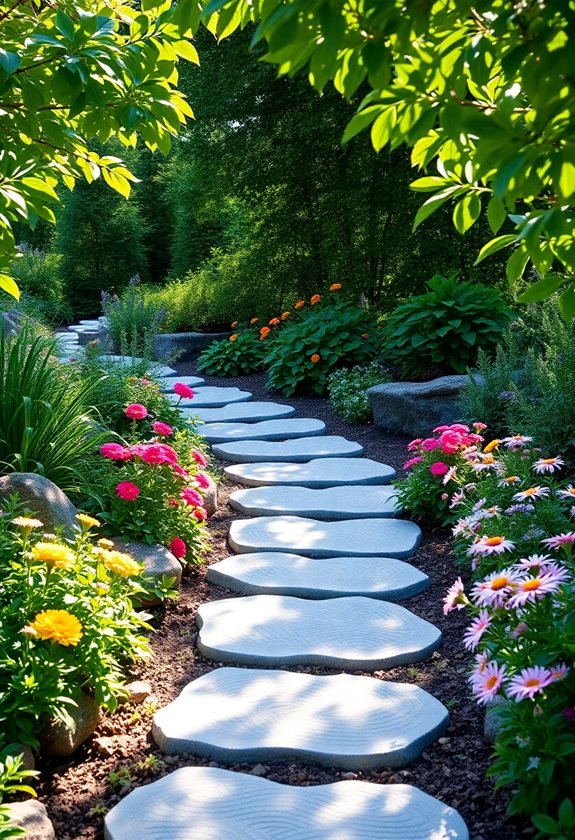
Making your own garden path stepping stones is a delightful project! Start by choosing sturdy materials like natural stone or concrete, and think about unique designs that reflect your personality. Gather tools like a trowel and gloves, then set up a clean workspace. Mix your concrete carefully, pour it into molds, and even add decorative touches for flair. After they cure properly, install your stones with care, and keep your pathway neat. Want more tips to elevate your garden game?
Design Highlights
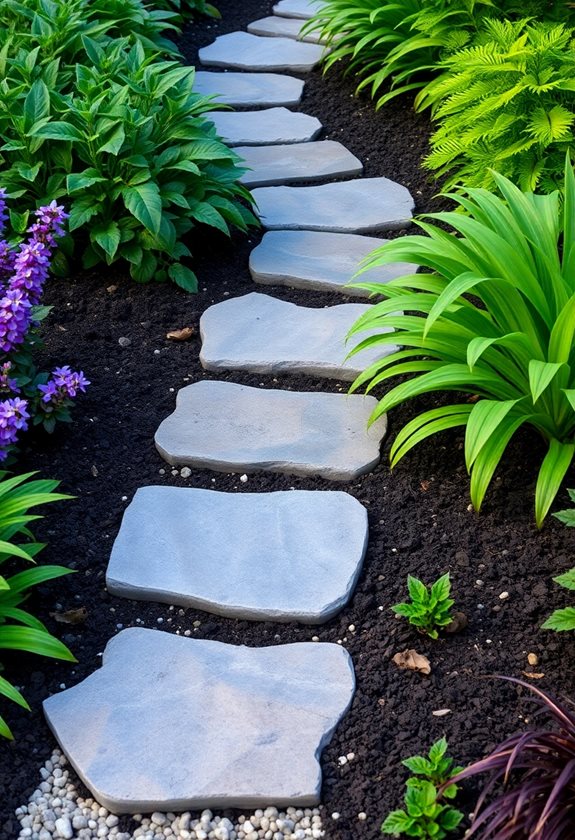
- Choose durable, slip-resistant materials like natural stone or concrete for long-lasting stepping stones.
- Use molds to create unique shapes and designs that reflect your personal style.
- Mix concrete using a ratio of one part water to two parts concrete, ensuring even consistency.
- Ensure a stable workspace and protect it with a tarp to catch spills during the process.
- Regularly clean and maintain your stepping stones to preserve their appearance and ensure safety.
Choose the Right Materials
When you’re ready to create your garden path, choosing the right materials can feel a bit overwhelming, but don’t worry! Think about safety first. Opt for materials like smooth stones or concrete that won’t pose a tripping hazard. You might consider:
Choosing the right materials for your garden path is essential—prioritize safety with smooth stones or concrete for a stunning, hazard-free design!
- Natural Stone: Durable and slip-resistant.
- Pavers: Easy to install and versatile.
- Recycled Materials: Eco-friendly and unique!
Always check for sharp edges. Trust me, I’ve learned the hard way! If you’re unsure, ask a local garden center for recommendations. With the right materials, you’ll be well on your way to a beautiful, safe garden path that you can enjoy for years! Additionally, incorporating beautiful walkway ideas can elevate the overall aesthetic of your garden.
Select a Design or Shape
Selecting a design or shape for your garden path can be just as exciting as planting the flowers that line it! Have you thought about how different shapes can change your garden’s vibe? Whether you prefer classic circles, whimsical stars, or natural stones, each choice gives your path character.
Consider these ideas:
- Symmetry for a classic look.
- Irregular shapes for a relaxed, organic feel.
- Themed designs, like animals or leaves, to showcase your personality.
Additionally, incorporating unique DIY stepping stones can enhance the visual appeal of your garden path while reflecting your personal style.
Gather Necessary Tools
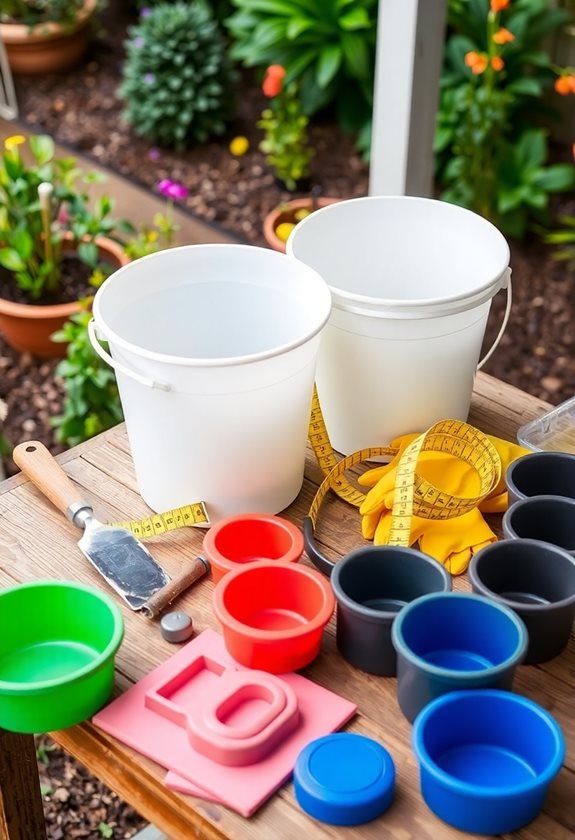
Before you plunge into creating your garden path, let’s talk about the tools you’ll need to make the process smooth and enjoyable. Trust me, having the right gear will save you time and frustration! Here’s a quick list to get you started:
- A sturdy mixing bucket for your concrete—don’t skimp on this!
- A trowel for spreading and smoothing out the mix—think of it as your trusty sidekick.
- Safety gloves to protect your hands from rough materials—safety first, after all!
Additionally, having a creative eye for functional garden decor can elevate your stepping stones into a charming element of your garden. Once you’ve gathered these essentials, you’ll be ready to jump into your project with confidence!
Prepare Your Workspace
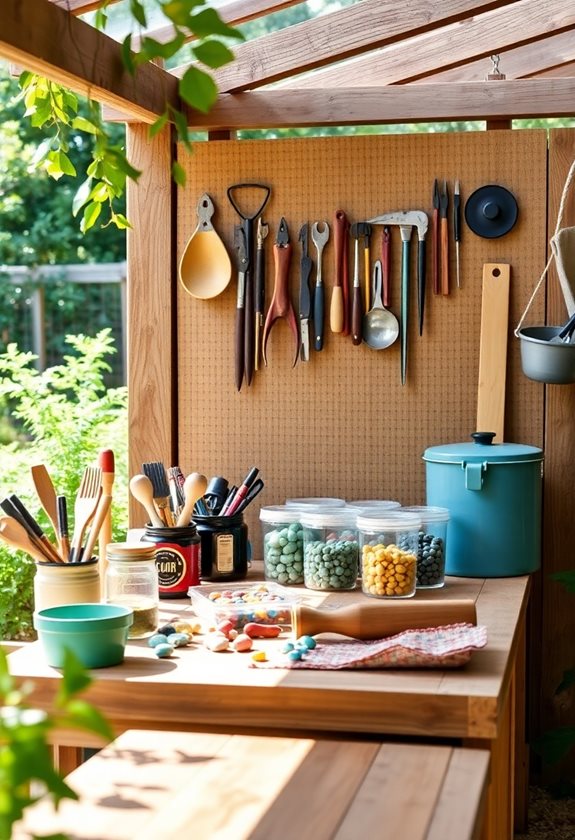
Now that you’ve got your tools ready, it’s time to set the stage for your garden path project. First, choose a flat, stable surface—like a garage floor or a patio—where you won’t trip over your feet or tools. Lay down a tarp to catch any spills; trust me, it saves a lot of cleanup later! Make sure your workspace is well-lit, too. You don’t want to squint while mixing! Finally, keep a first-aid kit nearby, just in case. After all, a little safety goes a long way. Additionally, consider using materials needed for homemade stepping stones to ensure a successful project. Ready to get your hands dirty? Let’s do this!
Mix the Concrete Properly
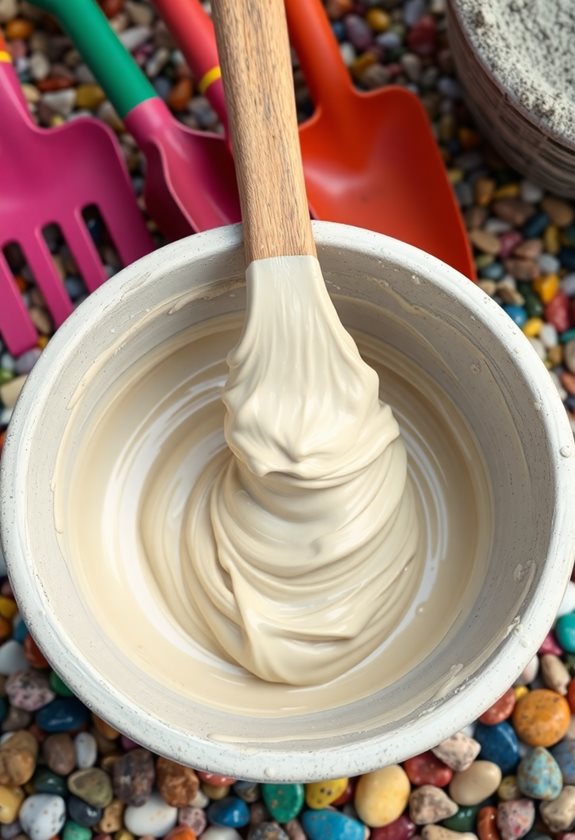
Mixing concrete might sound like a challenging task, but trust me, it’s easier than you think! To get a strong and durable mixture, follow these simple steps:
- Use the right ratio: Aim for one part water to two parts concrete mix.
- Stir evenly: A shovel works well, but a mixer makes it even smoother.
- Safety first: Always wear gloves and a mask to protect yourself from dust.
- Consider using eco-friendly options like coconut fiber for a more sustainable project.
Pour the Concrete Carefully
Once you’ve mixed that concrete to perfection, it’s time for the fun part—pouring it! Carefully pour the concrete into your molds, making sure to fill each one evenly. Avoid overflowing; it can be messy! Use a trowel to smooth the surface, but don’t rush—take your time. Safety tip: wear gloves and goggles to protect yourself from splashes. You wouldn’t want a concrete surprise in your eye, right? If you notice any air bubbles, gently tap the sides of the mold to release them. Trust me, those little details make a big difference in the final look of your stepping stones! To achieve the best results, consider using stepping stone molds that can help create unique shapes and designs.
Add Decorative Elements
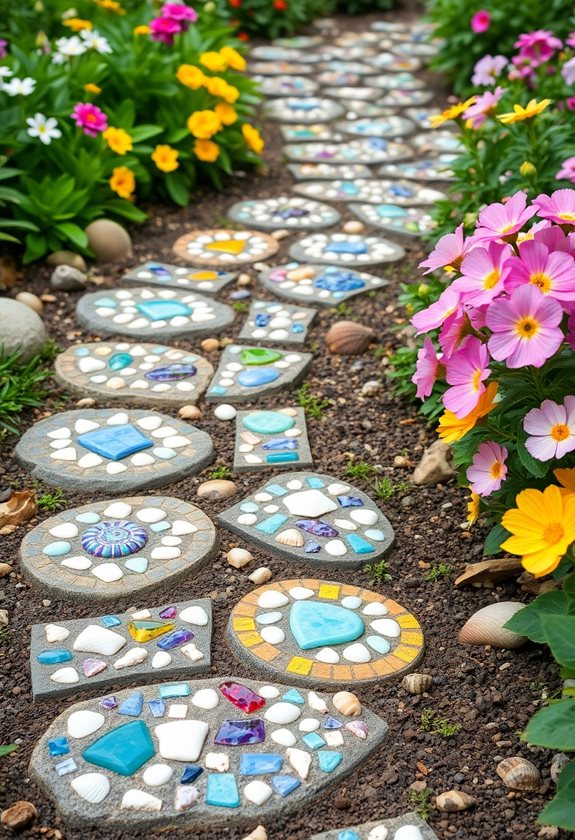
Creating your garden path stepping stones isn’t just about function—it’s also a chance to release your creativity! Why not add some personal flair? Here are some fun elements you can incorporate:
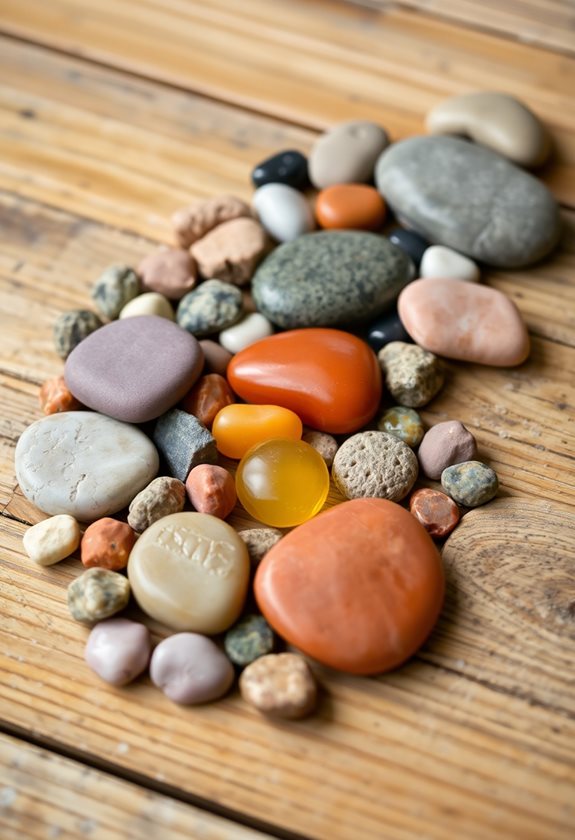
- Glass gems or marbles: These can catch the sunlight beautifully, adding a pop of color!
- Leaf impressions: Use fresh leaves to create unique patterns that remind you of nature’s beauty.
- Mosaics: Broken tiles or stones can form eye-catching designs that tell a story. Additionally, consider incorporating elements like garden waterfalls to enhance the overall ambiance of your garden space.
Allow for Proper Curing

While you might be keen to see your garden path stepping stones in action, it’s essential to give them the time they need to cure properly. Rushing this process can lead to cracks or weakened stones, which no one wants!
- Aim for at least 24 to 48 hours of curing time.
- Keep them covered with plastic to retain moisture, especially in dry weather.
Proper curing is crucial for achieving affordable DIY stepping stones that last. Trust me, I’ve learned the hard way! A little patience now will pay off later when you’re stepping confidently on those sturdy stones. So grab a cup of tea and enjoy the wait! Your garden will thank you!
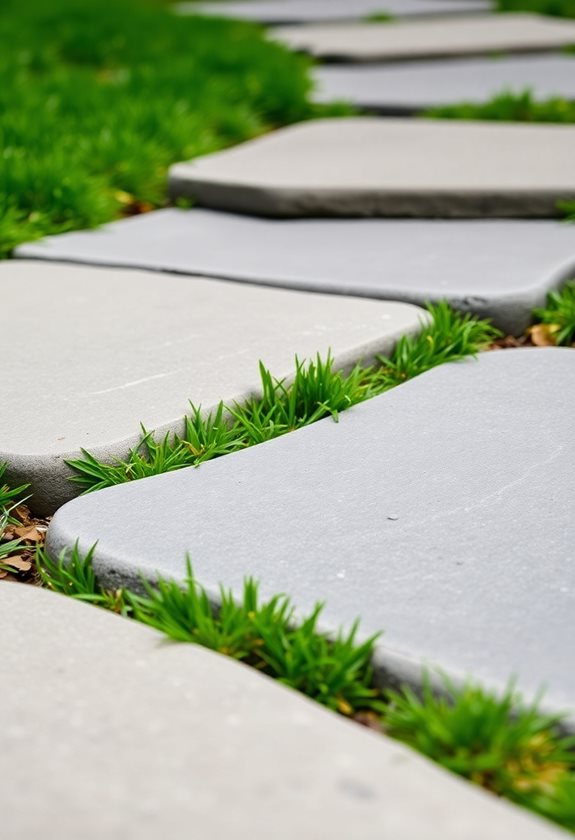
Install Your Stepping Stones
Now that your stepping stones are nice and cured, it’s time to get them installed and ready for action! You’ll want to guarantee they’re secure and safe for all who walk on them. Here’s how to make the process smooth:
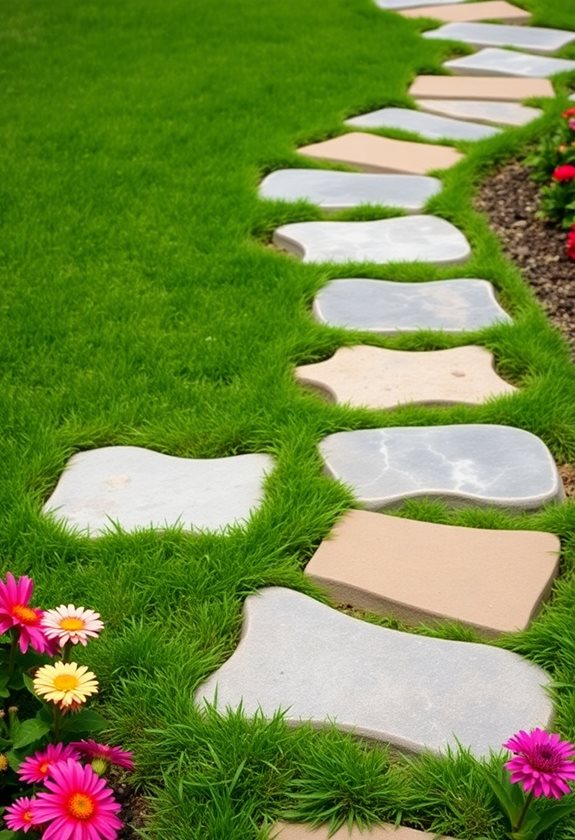
- Choose the right layout: Think about how you’ll use the path. Will it be straight or winding?
- Dig out the area: Make sure to create a level base for each stone to prevent wobbling.
- Set the stones: Press them firmly into the ground, leaving just enough space for grass or gravel in between.
Additionally, consider using materials like natural stone walkways, as they provide a durable and aesthetic appeal for your garden path.
Happy stepping! Your garden path is about to shine!
Maintain and Care for Your Pathway
Caring for your pathway not only keeps it looking fresh but also guarantees it remains safe and enjoyable for everyone who strolls through your garden. Regularly check for loose stones or uneven sections—tripping is no fun! Sweep away debris to prevent slippery spots. If you notice weeds peeking through, pull them out before they take over. A simple rinse with water can brighten those stones, too. Consider sealing them every year to protect against wear and tear. Additionally, incorporating unique walkway ideas can enhance both the aesthetic and functionality of your garden path. Remember, a well-cared-for pathway invites friends and family to enjoy your garden. So, are you ready to give your pathway the love it deserves?
Frequently Asked Questions
How Long Do Homemade Stepping Stones Typically Last?
Homemade stepping stones can last anywhere from a few years to decades, depending on materials and care. If you use high-quality concrete and seal them properly, they’ll withstand the elements much better. Imagine watching your stones transform your garden year after year! Just keep an eye out for cracks or wear—wouldn’t want to trip on a broken stone! After all, safety’s key, right? Enjoy your beautiful paths!
Can I Use Leftover Concrete for Other Projects?
Think of leftover concrete as a treasure chest waiting to be opened! You can definitely use it for other projects. Just make sure it’s safe and suitable for your needs. Here are some ideas:
- Planters: Create unique pots for your plants.
- Birdbaths: Craft a lovely spot for your feathered friends.
- Paving: Fill small cracks or gaps in your pathways.
Using it creatively not only saves resources but also adds character to your garden!
Are There Eco-Friendly Concrete Options Available?
Absolutely, there are eco-friendly concrete options out there! You’ll find alternatives like recycled concrete and hempcrete, which reduce waste and carbon footprint. Plus, some companies offer low-VOC (volatile organic compounds) concrete mixes that are safer for your garden. Have you ever considered using pervious concrete? It allows water drainage, which helps keep your plants happy! So, why not give these greener choices a shot? Your garden will thank you!
What Should I Do if I Encounter Bubbles in the Concrete?
If you see bubbles in your concrete, don’t worry, it happens! Just gently tap the surface with a trowel or a stick to release trapped air. You could also use a spray bottle filled with water to lightly mist the surface, which can help to smooth things out. Remember, a little patience goes a long way. Have you ever faced this problem? It can be frustrating, but it’s all part of the fun in gardening!
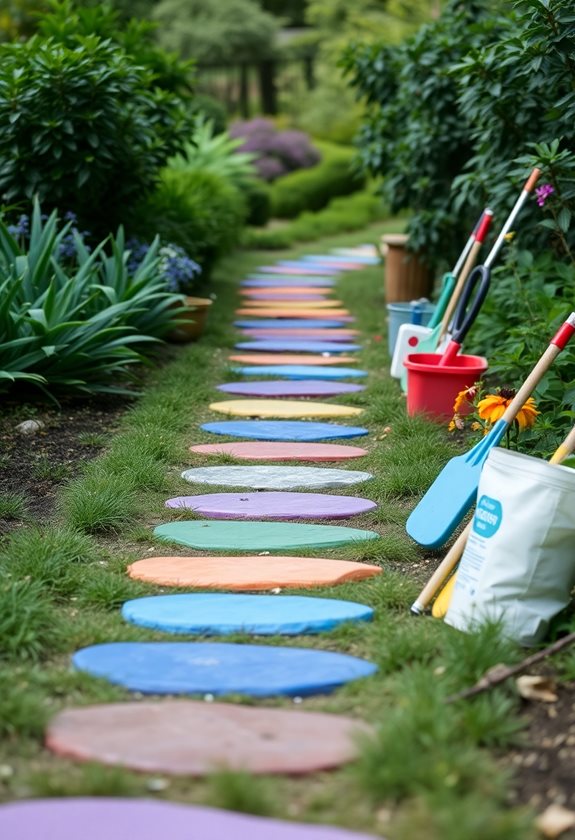
Can I Add Color to My Stepping Stones?
Absolutely, you can add color to your stepping stones! It’s a fun way to personalize your garden. You could use concrete dyes or pigments mixed right into the concrete. Just remember to follow the manufacturer’s instructions for the best results. Want a little shimmer? Try adding glitter! You’ll create a vibrant path that’ll make your garden pop. Isn’t it exciting to think about all the colors you can use? Get creative!