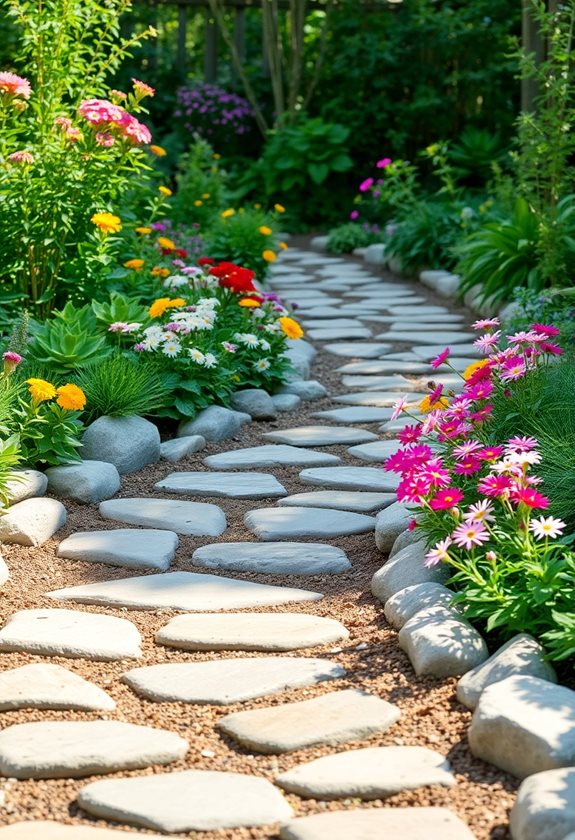
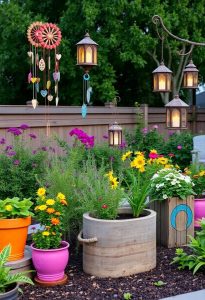
Looking for simple DIY ideas for garden pathways? You’ve got options! Why not try a rustic stone path, a cozy gravel walkway, or even repurposed bricks for a charming look? Measure your space first—around two feet wide is comfy. Plant some pretty flowers along the sides, and consider adding some cute lights for flair. Feeling adventurous? Experiment with edging using wood or metal for style. Stick around, and you’ll uncover even more tips to brighten up your garden!
Design Highlights
- Measure your space and determine the best pathway layout, ensuring at least 2 feet in width for comfortable walking.
- Create a natural stone pathway by selecting various stones, laying a gravel foundation, and arranging them with gaps for greenery.
- Design a gravel pathway by marking the path, digging a trench, adding landscape fabric, and filling it with compacted gravel.
- Repurpose old bricks by experimenting with patterns, using them to define spaces, and creating raised garden beds for added functionality.
- Enhance your pathway with edging materials like wood, brick, or metal to reflect your style and provide a polished finish.
Assessing Your Space and Design Ideas
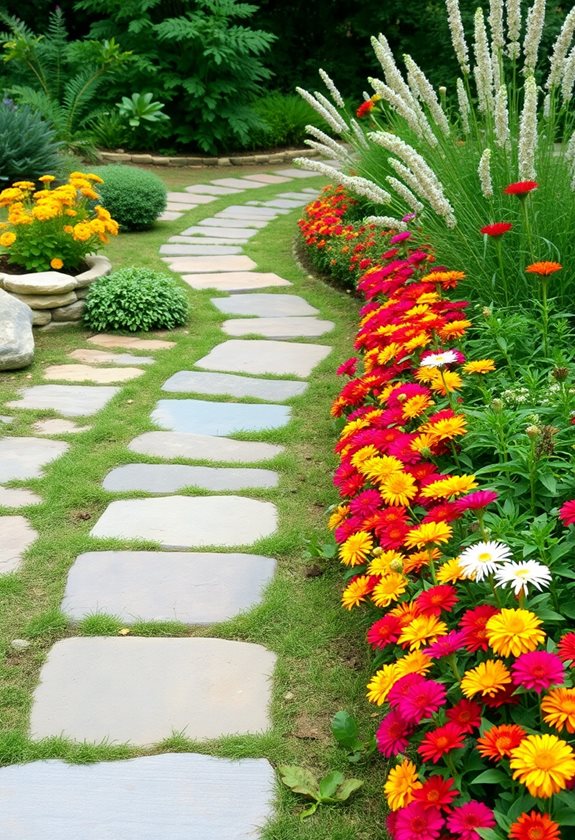
When you step into your backyard, does your imagination start to wander? Picture a winding path inviting you to explore. First, assess your space—measure the area and note any obstacles. Consider these design ideas:
Step into your backyard and let your imagination roam; envision a winding path that beckons you to explore its beauty.
- Curved vs. Straight: Curves can make a small space feel larger.
- Width: Aim for at least 2 feet to allow comfortable walking.
- Material: Think about how each option fits your style—gravel, wood, or brick? Choosing high-quality materials like pressure-treated wood can enhance the durability of your pathway.
Don’t forget to visualize! What plants will frame your path? Let your creativity flow, and remember, every great garden starts with a single step—so what’s yours?
Using Natural Stone for a Rustic Pathway
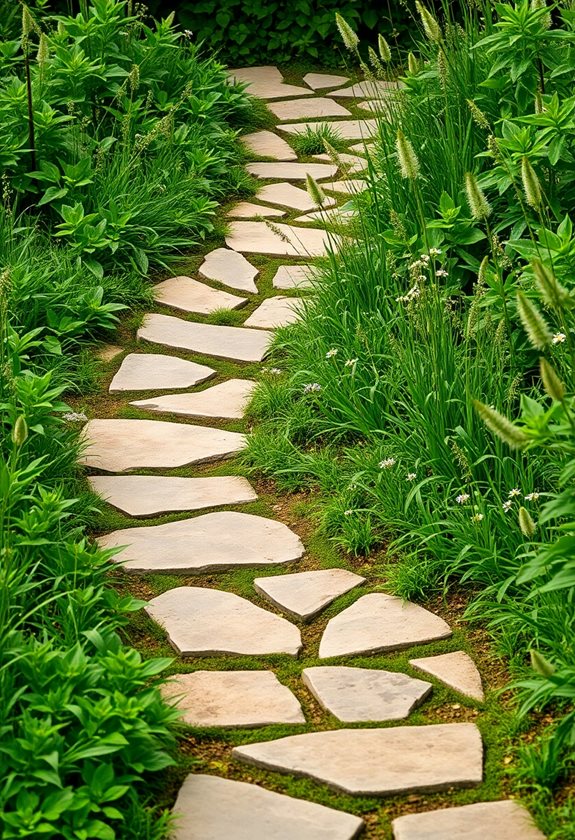
Imagine stepping onto a pathway that feels like it’s part of nature itself—one made from natural stone. These rustic pathways add charm and character to your garden. To create your own, consider these steps:
- Select Your Stones: Choose various shapes and sizes for visual interest.
- Prepare the Base: Clear the area and lay down a sturdy foundation of gravel or sand.
- Arrange the Stones: Place them comfortably, leaving small gaps for grass or moss to grow. The use of weather-resistant materials can significantly enhance the longevity of your pathway.
It’s like crafting a piece of art! So, are you ready to transform your outdoor space into a stunning natural haven?
Creating a Gravel Pathway
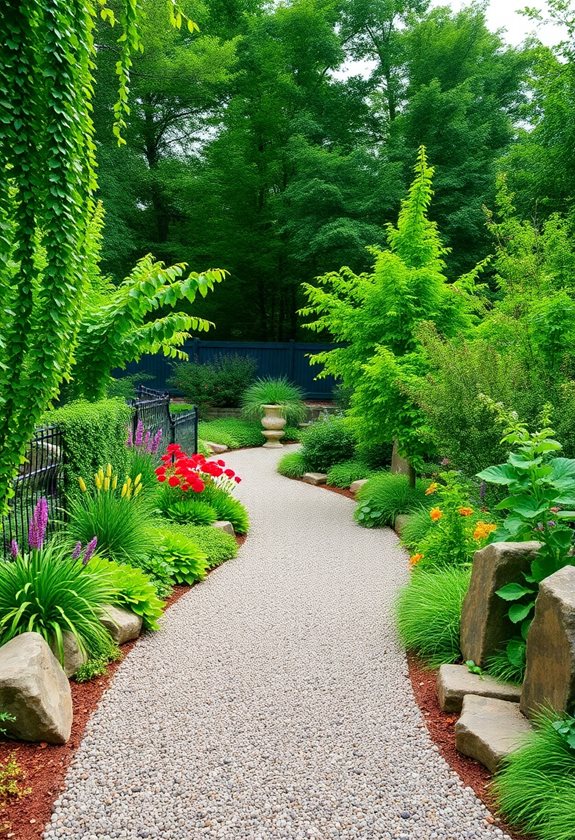
Creating a gravel pathway can be one of the easiest and most rewarding DIY projects for your garden, especially if you want a quick transformation without breaking the bank. Start by marking your desired path with stakes and string—this helps visualize your design. Next, dig a shallow trench, about 3 to 4 inches deep. Lay down a landscape fabric to prevent weeds, then fill with gravel. Choose a size that suits your style—small pebbles for a refined look, larger stones for a rustic vibe. Don’t forget to compact the gravel for stability! Isn’t it exciting to see your garden come alive? Adding pathway lighting can enhance both the beauty and safety of your new gravel path during nighttime.
Repurposing Old Bricks and Pavers
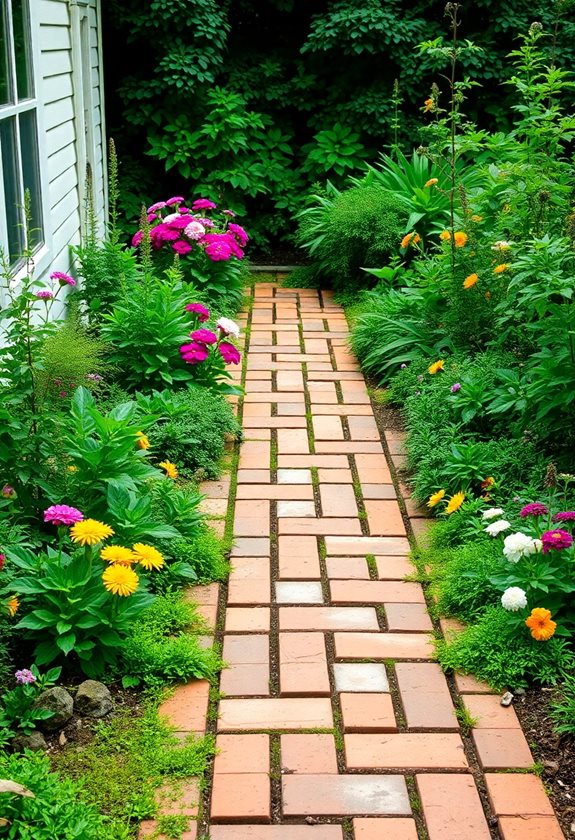
If you’ve got a stash of old bricks or pavers lying around, you’re in for a treat! Repurposing them adds character to your garden pathways. Here’s how you can transform these materials into beautiful walkways:
- Lay a Pattern: Experiment with different patterns, like herringbone or running bond, to create visual interest.
- Create Edging: Use bricks to edge flower beds or pathways, defining spaces while adding a rustic charm.
- Build a Raised Bed: Stack bricks to form a raised garden bed, combining functionality with a decorative touch.
Additionally, incorporating beautiful pathway designs can further enhance your outdoor space. Ready to elevate your garden? Let’s get those bricks to work!
Installing Wooden Planks or Timbers
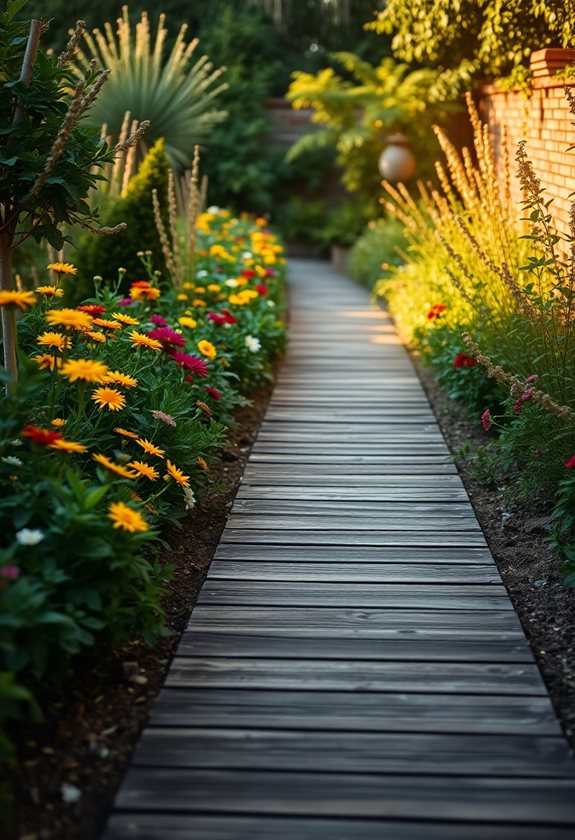
While you might think of wooden planks or timbers as just a way to get from point A to point B in your garden, they can actually transform your outdoor space into something special! Imagine strolling along a rustic path, surrounded by blooms. To install, start by measuring your desired pathway. Lay the planks directly on the ground or elevate them for a more structured look. Use landscape fabric underneath to prevent weeds. Secure them with stakes, and voilà! You’ve created a charming walkway. Who knew a little wood could make such a big difference? Now, isn’t that a fun project? Remember, using pathway layout ideas can help enhance your design further!
Incorporating Stepping Stones
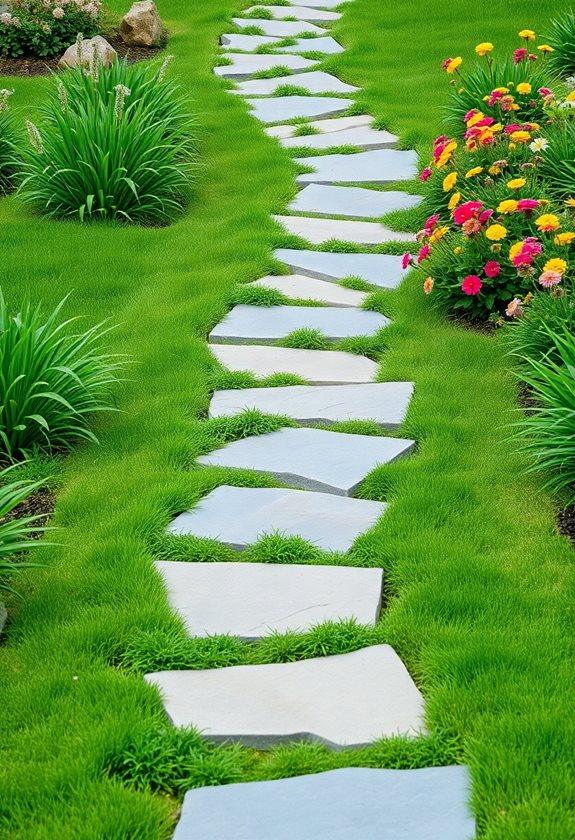
When you think about adding charm to your garden, stepping stones might just be the perfect touch! They create a whimsical path while helping you avoid muddy shoes. Plus, they’re easy to customize! Here’s how to incorporate them seamlessly:
- Choose materials: Select natural stone, concrete, or even recycled glass for unique flair.
- Plan your layout: Space them evenly or create a meandering path for a playful look.
- Add greenery: Surround them with ground cover or flowers to enhance their appeal. Additionally, you can create beautiful garden paths with stepping stones that not only serve a functional purpose but also enhance the overall aesthetic of your outdoor space.
Designing a Mulch or Bark Pathway
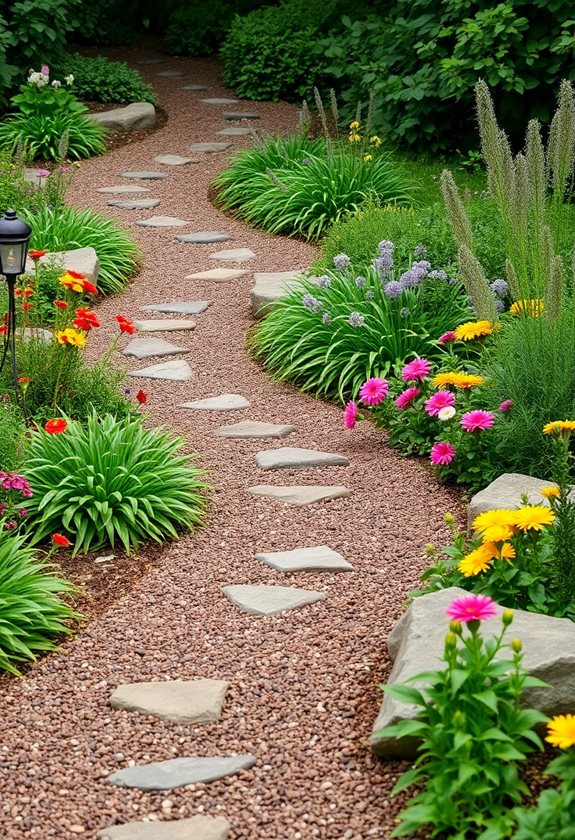
After adding those delightful stepping stones to your garden, you might be wondering what other creative options are out there to enhance your outdoor space. Have you considered a mulch or bark pathway? It’s not only easy to install, but it also adds a rustic charm. Start by clearing the area of grass and weeds, then lay down landscape fabric to prevent pesky growth. Next, pour your chosen mulch or bark, about three inches thick. Voila! You’ve got a cozy path that feels like nature’s hug. Plus, it’s great for drainage. Eco-friendly materials can also enhance the sustainability of your garden pathway. Isn’t it satisfying to create something so beautiful?
Adding Edging for a Finished Look
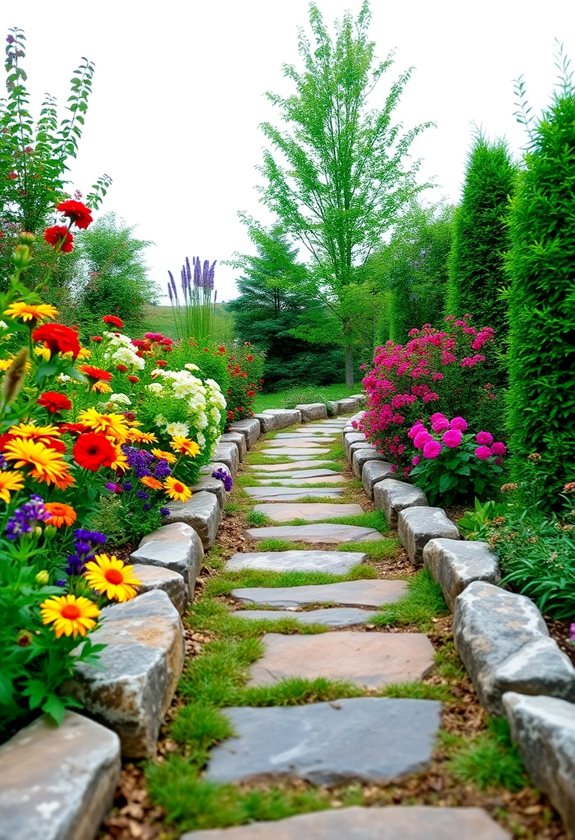
To truly elevate your garden pathway, adding edging can make all the difference. Imagine a neat, defined look that enhances your hard work! Here are three fantastic edging options to contemplate:
- Wooden Borders: They’re rustic and blend seamlessly with nature.
- Brick or Stone: These materials add a timeless elegance, perfect for a classic vibe.
- Metal Edging: For sleek, modern aesthetics, this option is durable and visually striking.
Choose an edging that reflects your style and helps define your pathway. Trust me, once you see the finished product, you’ll wonder why you waited so long to edge! Additionally, incorporating unique walkway ideas can further transform your small garden into a stunning retreat.
Frequently Asked Questions
What Tools Do I Need for DIY Garden Pathways?
To create your DIY garden pathway, you’ll need some essential tools! Grab a shovel for digging, a rake for leveling, and a mallet for setting stones. A wheelbarrow can help transport materials, while gloves keep your hands safe. Don’t forget a level to guarantee everything’s straight! A garden hose can help outline your path, making it easier to visualize. Ready to get your hands dirty and create something beautiful? Let’s do it!
How Do I Maintain My Garden Pathway?
Keeping your garden pathway in tip-top shape is essential, and it’s easier than you think! First off, regularly clear debris—leaves and dirt can be a slippery slope! Next, check for weeds; they love to crash the party. If stones shift, just reposition them. You might even want to refresh the edging every season. With a little TLC, your pathway will not only look great but also stand the test of time! Why not give it a try?
Can I Use Recycled Materials for Pathways?
Absolutely, you can use recycled materials for your pathways! It’s a fantastic way to get creative while being eco-friendly. Think about using old bricks, broken concrete, or even wooden pallets. Just imagine the charm a path made of colorful glass bottles could add! Not only is it cost-effective, but it also gives your garden a unique touch. So, what materials do you have lying around? Let’s transform them into something beautiful!
What Plants Work Best Alongside Garden Pathways?
Imagine your garden pathway being the runway for the most beautiful plants! When choosing companions, you can’t go wrong with vibrant marigolds or cheerful pansies. They’ll add splashes of color that’ll make your heart sing! Consider fragrant herbs like lavender or rosemary too; they’ll not only look great but smell amazing as you stroll by. Just picture these delightful plants lining your pathway—what a sight! Have you found your favorites yet?
How Can I Make My Pathway Safer for Children?
To make your pathway safer for kids, consider these tips! First, choose non-slip materials like textured stones or rubber. You could also add edging to keep them contained—no one wants a surprise tumble, right? Installing a soft surface like mulch can cushion falls, too. Finally, keep pathways well-lit at night; solar lights are both practical and pretty! With these changes, you’ll create a fun and safe space for your little explorers!

