
Creating a fairy garden is an enchanting way to release your creativity! Start with miniature fairy furniture made from twigs and pebbles—think tiny chairs and whimsical tables. Next, craft winding pathways from colored stones for charm. Don’t forget to use recycled materials for fairy houses, adding some colorful flower pots too. Sparkling lanterns made from jars can illuminate the magic at night! Want more ideas? You’re just a hop away from crafting the ultimate fairy paradise!
Design Highlights
- Create miniature fairy furniture using twigs and stones to add charm and creativity to the garden.
- Design enchanted pathways with pebbles and twigs for a magical exploration experience.
- Build fairy houses from recycled materials like yogurt cups, personalizing them with colorful windows and doors.
- Paint whimsical flower pots in bright colors and plant cheerful flowers to enhance visual appeal.
- Incorporate miniature figurines and tiny signs to tell stories and inspire imaginative play in the garden.
Miniature Fairy Furniture
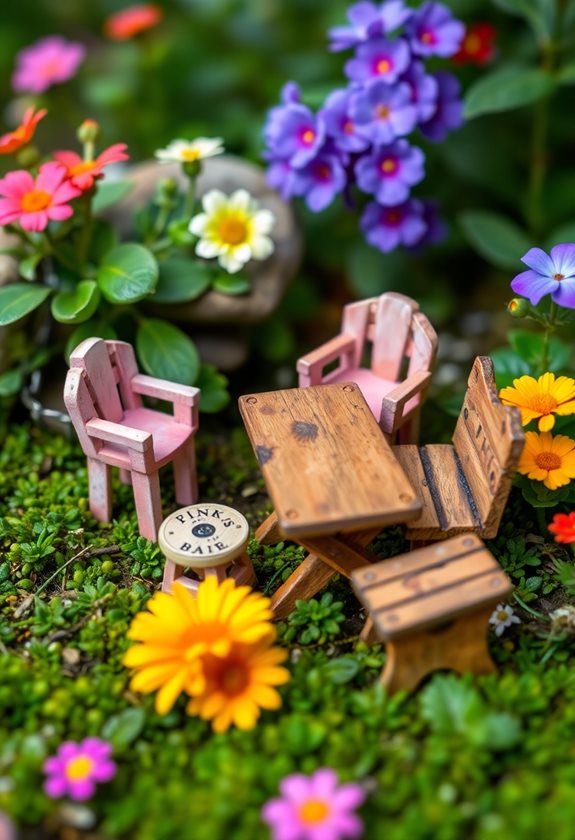
When you immerse yourself in the enchanting world of miniature fairy furniture, you might just find that creating a cozy nook for your little garden sprites is as rewarding as tending to the plants themselves! Imagine crafting tiny chairs from twigs or a charming table out of smooth stones. You could even fashion a whimsical hammock from string!
Creating miniature fairy furniture can be just as fulfilling as nurturing your garden, adding a sprinkle of magic to your outdoor space.
Consider these tips:
- Choose natural materials: They blend beautifully with your garden.
- Scale is key: Tiny pieces make a big impact!
- Get creative: Paint your pieces or add decorative elements.
Who knew such small touches could spark so much magic? Additionally, incorporating fairy lights in your garden can enhance the whimsical atmosphere of your enchanting creation. Let’s plunge into it!
Enchanted Pathways
As you start to envision your fairy garden, don’t underestimate the magic of enchanted pathways! These charming trails guide fairies (and you!) through whimsical landscapes. You can create them using various materials like pebbles, twigs, or even colored stones.
Think about:
- Curves: A winding path feels more magical than a straight line.
- Textures: Mix smooth and rough materials for visual interest.
- Surroundings: Add tiny flowers or moss along the edges to enhance the enchantment.
Every twist and turn invites discovery—what’s hiding around the corner? So, grab those materials and let your creativity flow! Incorporating DIY fairy garden decorations can elevate the whimsical experience for kids and spark their imagination.
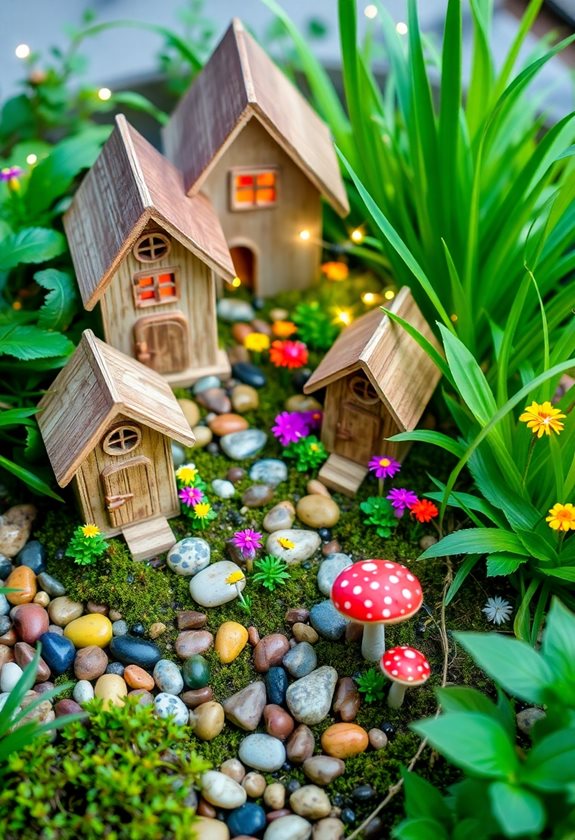
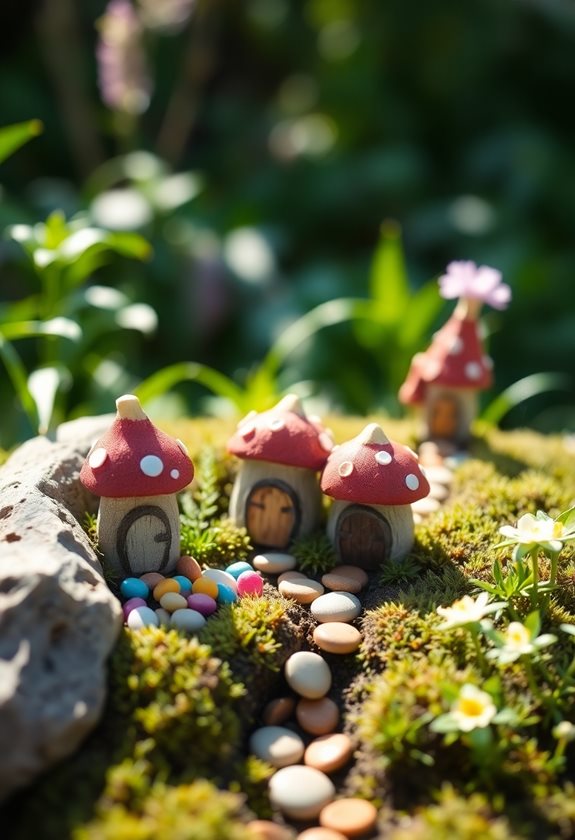
Fairy Houses From Recycled Materials
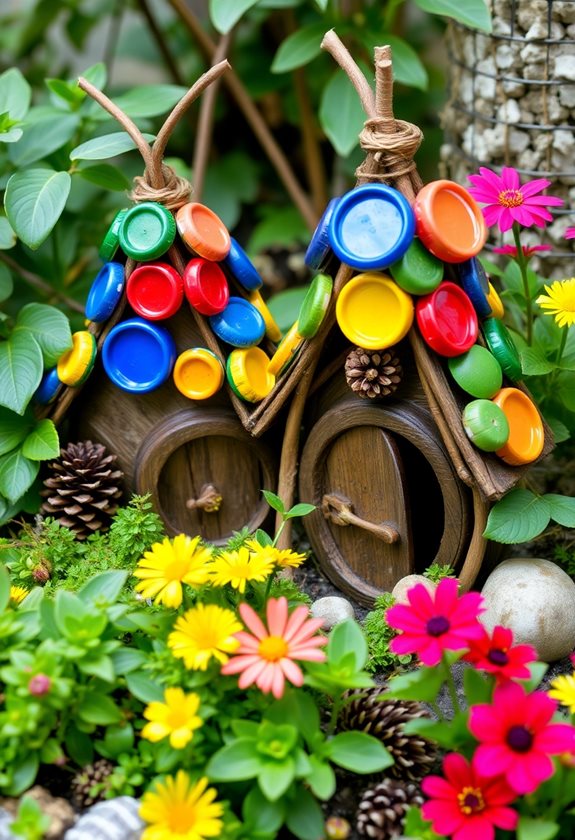
Who knew that the treasures you toss aside could turn into magical homes for fairies? Grab those empty yogurt cups, toilet paper rolls, and discarded cardboard boxes! You can craft enchanting fairy houses with just a bit of creativity and glue. Start by painting or covering them with natural materials like moss or twigs. Add windows cut from colorful paper and doors made from bottle caps.
Don’t forget to personalize each house with unique touches, like tiny flower gardens or pebbled pathways. What’s stopping you? Immerse yourself in the delightful world of recycling and let your imagination soar! Upcycling not only reduces waste but also allows you to create upcycled garden decor that adds charm to your outdoor space.
Whimsical Flower Pots
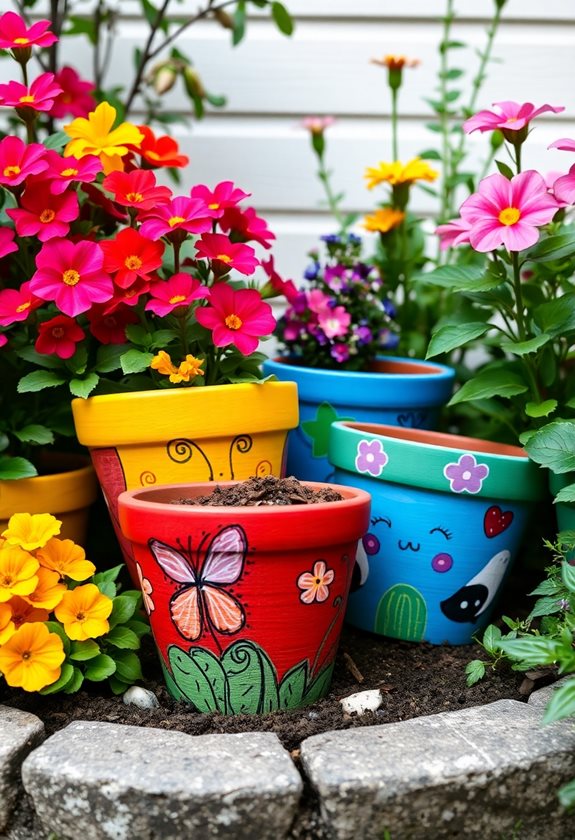
Even if you’re not a seasoned gardener, creating whimsical flower pots can transform your backyard into a fairy-tale wonderland! Imagine colorful pots adorned with playful designs, perfect for attracting fairies. Start with terracotta pots—paint them bright colors or add polka dots. You could even glue on whimsical decorations like tiny butterflies or glittering stones.
Don’t forget to plant cheerful flowers like daisies or marigolds! One great way to enhance your fairy garden is by using unique container designs that can add charm and personality to your creations.
- Choose a mix of sizes for variety.
- Incorporate different textures for visual interest.
These simple touches make your garden enchanting! So, what are you waiting for? Let your creativity bloom and invite those fairies in!
Magical Garden Signs
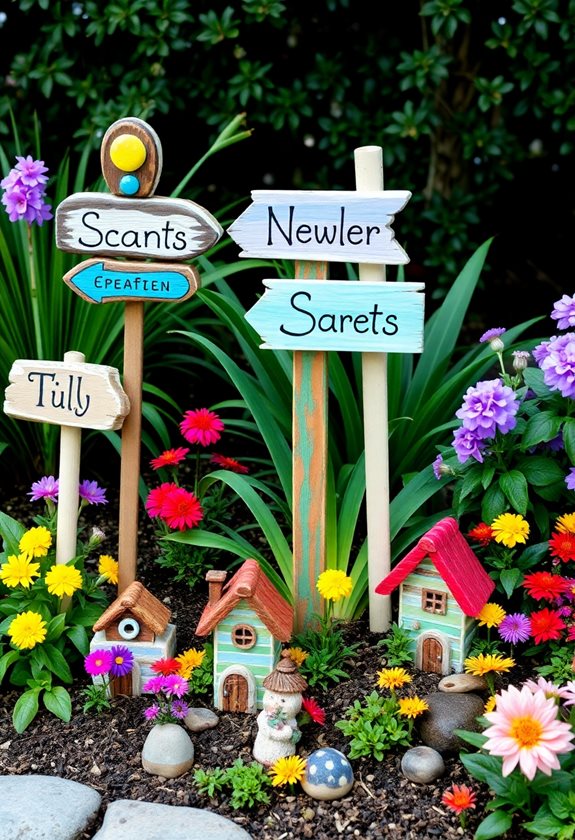
After you’ve crafted those whimsical flower pots, why not add a sprinkle of magic with some garden signs? These enchanting markers can guide fairies (and friends!) through your creation. You can easily make them with popsicle sticks, paint, and a dash of imagination. Write whimsical phrases like “Fairy Crossing” or “Secret Garden” to spark curiosity.
Add a touch of whimsy to your fairy garden with charming homemade signs that spark curiosity and guide your magical visitors!
Consider using:
- Bright colors for visibility
- Glitter for that extra sparkle
- Small stones as bases to keep signs steady
Trust me, your fairy garden will feel like a magical domain. Plus, it’s a fun way to express your creativity! Did you know that creating a garden helps promote self-sustainability through growing veggies? Ready to get started?
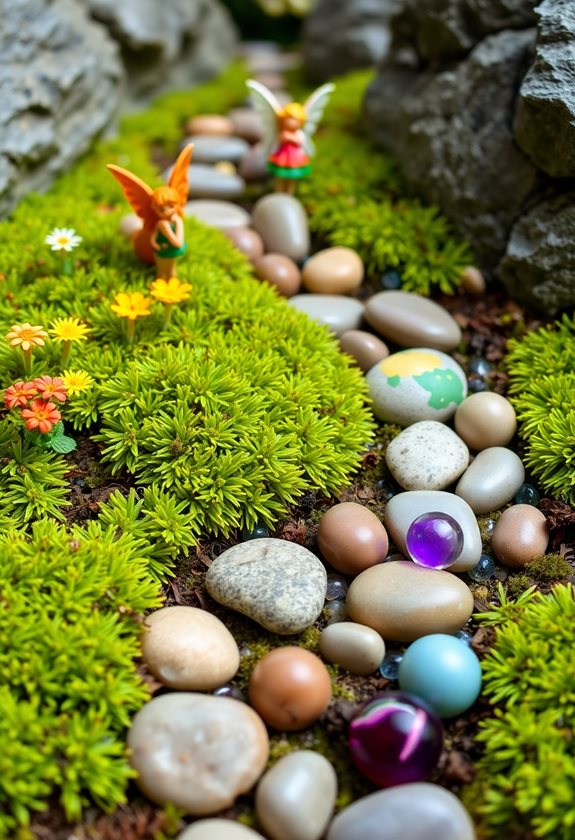
Colorful Pebble Walkways
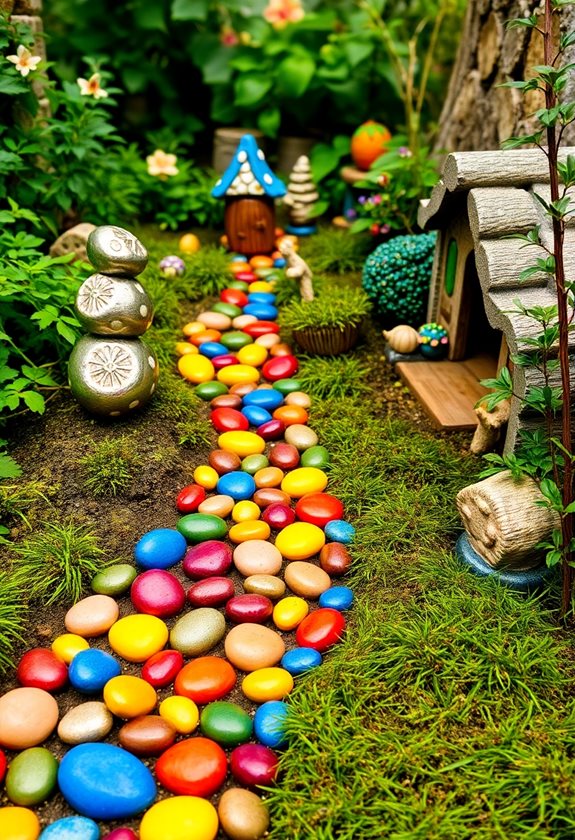
Creating a colorful pebble walkway can transform your fairy garden into a magical pathway that beckons little feet to explore! Start by choosing vibrant pebbles—think reds, blues, and yellows. Lay them in a winding pattern, allowing your creativity to shine. Have you ever tried mixing shapes? Round and flat stones can add depth!
To make it sturdy, use a little sand as a base. You can even sprinkle glitter for that extra sparkle! Remember, it’s not just about looks; it’s about the adventure. Incorporating winding garden paths can enhance the overall design and make your fairy garden even more enchanting. So, are you ready to get your hands dirty and craft a whimsical path for your fairies?
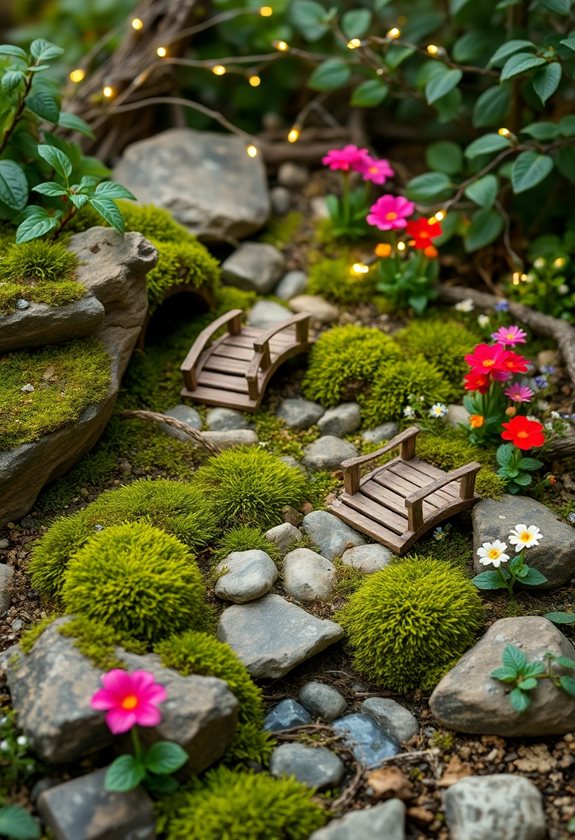
DIY Fairy Bridges
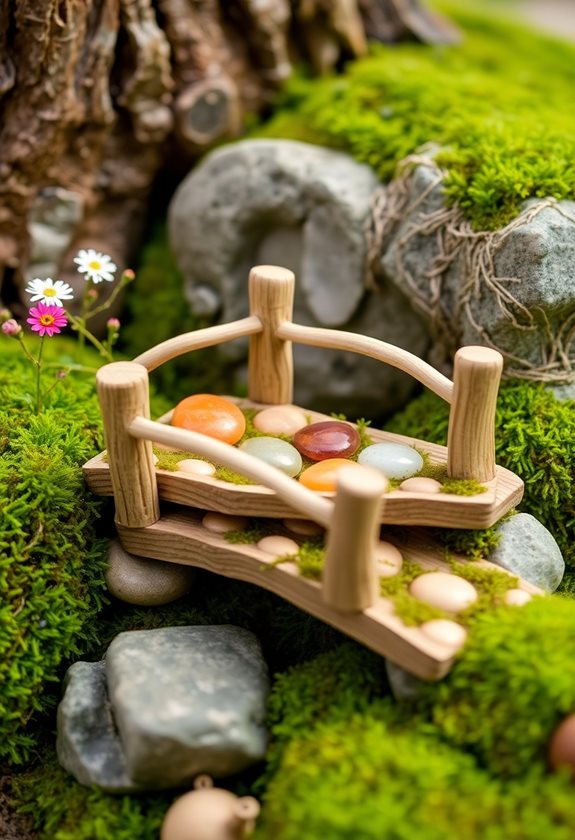
Imagine standing in your backyard, the sun shining, and the gentle sound of a nearby stream whispering secrets to your fairies. Wouldn’t a DIY fairy bridge add a touch of magic? Start with twigs or popsicle sticks, arranging them into a charming arch. Secure them with glue, and for added flair, paint them in whimsical colors! You could even decorate with tiny flowers or moss. Just picture your fairies crossing over, giggling as they go! Once you’ve built your bridge, invite your friends to admire your handiwork. To make your garden even more enchanting, consider incorporating vibrant colors and intricate details to enhance the charm of your fairy setup. Ready to create something enchanting? Your fairies are waiting!
Sparkling Fairy Lanterns
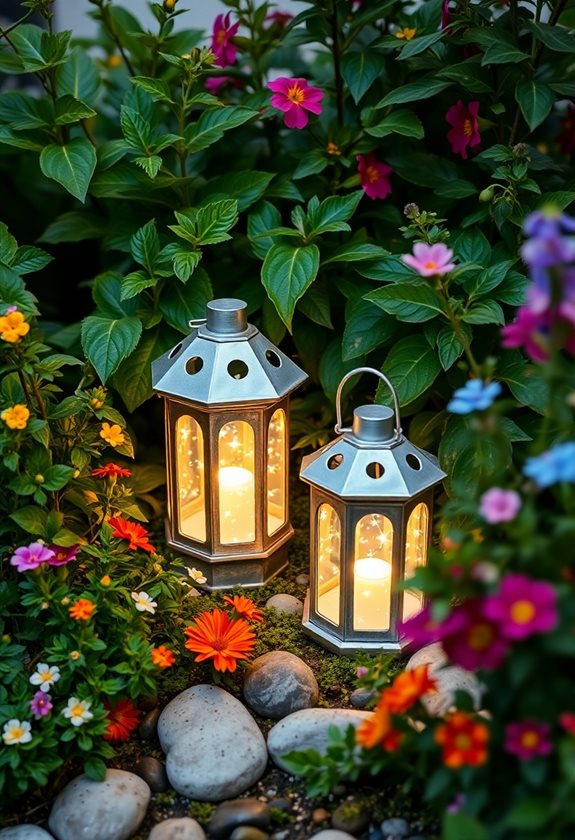
What could be more enchanting than watching your fairy friends twinkle and dance around a sparkling lantern? Creating these magical lanterns is easier than you think! Grab some glass jars, fairy lights, and glitter. Simply fill the jars with a handful of glitter, then add your fairy lights. The result? A dazzling display that’ll make your garden feel like a mystical domain!
Want to take it further? Try painting the jars in soft pastels or wrapping them in twine for a rustic touch. Trust me, your fairies will love it! As you craft, consider using homemade mason jar lanterns to enhance the whimsical atmosphere even more. So, are you ready to illuminate your fairy garden? Let’s get crafting!
Natural Elements for Decoration
Nature’s treasures can transform your fairy garden into a whimsical paradise! Incorporate elements like pinecones, acorns, and smooth stones to create a natural landscape. Have you ever used twigs to craft tiny fences or bridges? It’s a fun way to personalize your space! Gather colorful leaves for a vibrant ground cover or use moss as a soft carpet. Don’t forget flowers—dried or fresh, they add a pop of color. You might even stumble upon a perfect shell or pebble that becomes a fairy’s secret treasure! Additionally, consider using lush garden ideas to inspire your design and maximize your small space. Let your imagination run wild, and watch your garden flourish with these natural wonders!
Creative Fairy Garden Accessories
You’ve gathered all those beautiful natural elements, and now it’s time to add some personal flair with creative fairy garden accessories! Think miniature furniture, vibrant fairy houses, or whimsical pathways. You could use:
- Pinecone chairs: Perfect for tiny woodland creatures!
- Pebble pathways: Direct your fairies with style.
- Bottle cap tables: Eco-friendly and unique!
Don’t forget about miniature figurines; they inject personality into your garden. Have you tried making tiny signs or flags? They’re easy and super fun! Let your imagination run wild, and remember: each accessory tells a story, making your fairy garden truly one-of-a-kind! Additionally, incorporating natural stones can enhance your garden’s aesthetic and provide excellent drainage. Happy crafting!
Frequently Asked Questions
What Materials Are Safe for Children to Use in Fairy Gardens?
When creating your garden, you’ll want to use safe materials for kids. Think non-toxic paints, natural stones, and untreated wood. Here are some safe options:
- Craft foam: It’s soft, colorful, and easy to cut!
- Recycled materials: Old bottle caps can become whimsical flowers!
- Plant-based decorations: Dried flowers or leaves add a touch of nature.
How Can I Involve My Child in the DIY Process?
Involving your child in the DIY process is like planting seeds together—watching creativity grow! Start by brainstorming ideas, letting their imagination run wild. Gather materials, and let them choose their favorites. You could assign specific tasks, like painting pots or arranging plants. Make it fun by playing music or sharing stories as you work! What’s better than creating something beautiful together? Celebrate each step, and you’ll both cherish those memories for years to come!
What Age Is Appropriate for Kids to Create Fairy Gardens?
You might be wondering what age is best for kids to engage in creating their own gardens. Generally, ages 5 to 12 work well! Younger kids love the hands-on experience, while older ones can handle more intricate designs. For example, your 8-year-old might enjoy planning a miniature landscape, while your 12-year-old could create a themed garden. Just remember, the goal’s to nurture creativity and have fun—so let their imaginations run wild!
How Do I Protect Fairy Gardens From Weather Elements?
Imagine your fairy garden as a cozy retreat, but nature can be a bit unruly! To protect it from weather elements, use a few simple tricks. First, cover delicate plants with cloches or lightweight fabric during storms. Second, place your garden in a sheltered spot, away from harsh winds. Finally, consider using waterproof containers. Just think—your little fairies deserve a home that stands strong against the elements! Got any other tips up your sleeve?
Can Fairy Gardens Be Made Indoors?
Absolutely, you can create a fairy garden indoors! Just grab a cute container, some potting soil, and your favorite tiny decorations. Make certain it gets enough light—perhaps by placing it near a sunny window. Here’s a tip: use small plants like succulents, which thrive indoors. Don’t forget to water them, but not too much! Isn’t it exciting to bring a bit of magic inside? You’ll love creating your own enchanting space!